
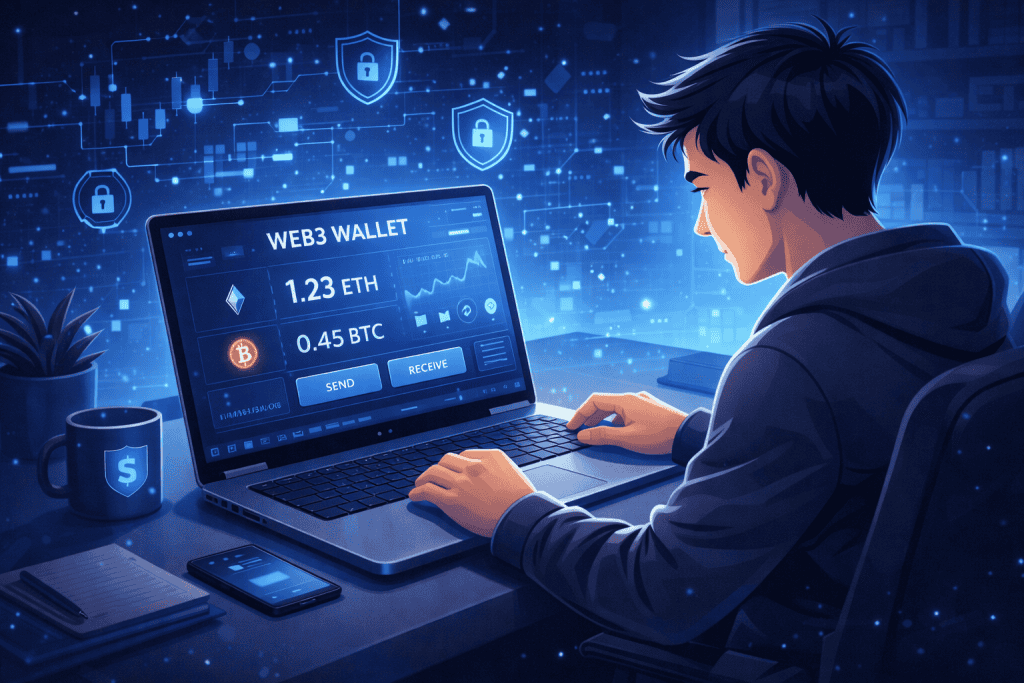
The first time I tried using a wallet for decentralized apps, I stared at the screen like it was asking me to launch a spaceship. There were buttons to connect, sign, approve, swap, and confirm, and every click felt important. That’s exactly why learning to use a Web3 Wallet matters in Cryptocurrency. It turns a confusing experience into something practical, safe, and even exciting.
A wallet like this is more than a place to hold tokens. It’s your passkey to decentralized apps, NFT platforms, token swaps, and onchain services that don’t rely on a traditional middleman. When you understand how it works, you gain more control over your funds, your identity, and the choices you make online. That can be empowering, but only if you know what you’re doing.
This guide walks you through the process in a simple, human way. You’ll learn what to prepare, how to connect carefully, how to avoid common mistakes, and how to build confidence as you go. Think of it as the friendly explanation most people wish they had on day one.
Tools Needed
Before you begin, gather a few basics so the process feels smooth instead of stressful. You’ll need a wallet app or browser extension from a trusted provider, a phone or computer, internet access, and a small amount of crypto for network fees.
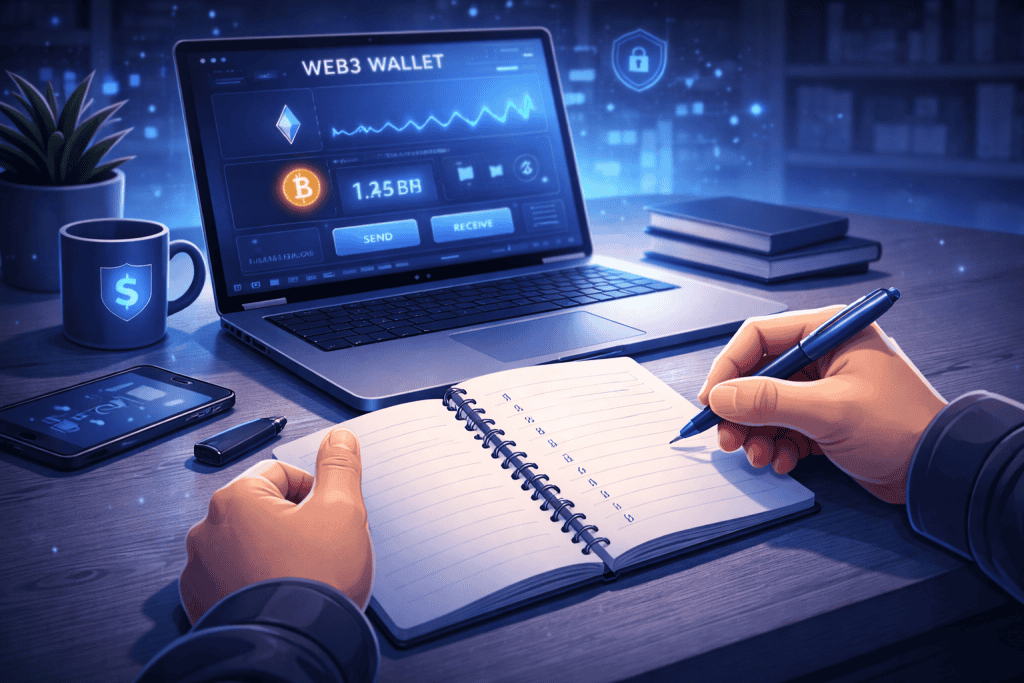
In many cases, you’ll also want a safe offline place to store your recovery phrase. I always recommend writing it down by hand and keeping it somewhere private, because relying on memory is a gamble most people lose. It also helps to start with a small amount of funds while you learn. That way, you can explore without feeling like every tap is high stakes. A little patience helps too. In this space, moving slowly is often the smartest move.
| Item | Why You Need It |
|---|---|
| Wallet app or extension | Lets you connect to dApps and manage assets |
| Phone or computer | Device for setup and transaction approval |
| Internet connection | Needed to access wallet services and dApps |
| Small amount of crypto | Covers network or gas fees |
| Recovery phrase storage | Protects access if your device is lost |
| Trusted dApp link | Reduces the risk of phishing or fake sites |
Web3 Wallet Instructions
Step 1: Choose and install a trusted wallet
Start by choosing a reputable web3 wallet provider and installing the official mobile app or browser extension. Download it only from the provider’s verified site or app store page. This step sounds basic, but it’s where many people trip. Fake wallet apps can look almost identical to the real thing. I’ve seen beginners rush this part and regret it later. Once installed, create your wallet and follow the setup process carefully. If the wallet offers security options like biometrics or a passcode, turn them on immediately. Think of this step as locking your front door before bringing anything valuable inside.
Step 2: Back up your recovery phrase properly
When your wallet shows you a seed or recovery phrase, stop and give it your full attention. This phrase is the master key to your funds. Write it down exactly as shown, in the right order, and store it offline in a secure place. Do not save it in screenshots, cloud notes, or your email drafts. That might feel convenient in the moment, but convenience is often what attackers count on. In Cryptocurrency, ownership comes with responsibility. This is the part where that reality becomes very real. A careful backup today can save you from a nightmare later.
Step 3: Fund your wallet with a small test amount
Next, transfer a small amount of crypto into your wallet before doing anything complicated. This gives you room to learn how sending, receiving, and fee handling actually work. It also helps you avoid the classic beginner mistake of moving a large amount before understanding the network. Check the receiving address carefully, confirm you’re using the correct network, and send a test transaction first. Even experienced users still do test transfers, because one wrong character or chain choice can create a problem that’s difficult to reverse. Start small, stay calm, and let each action teach you something.
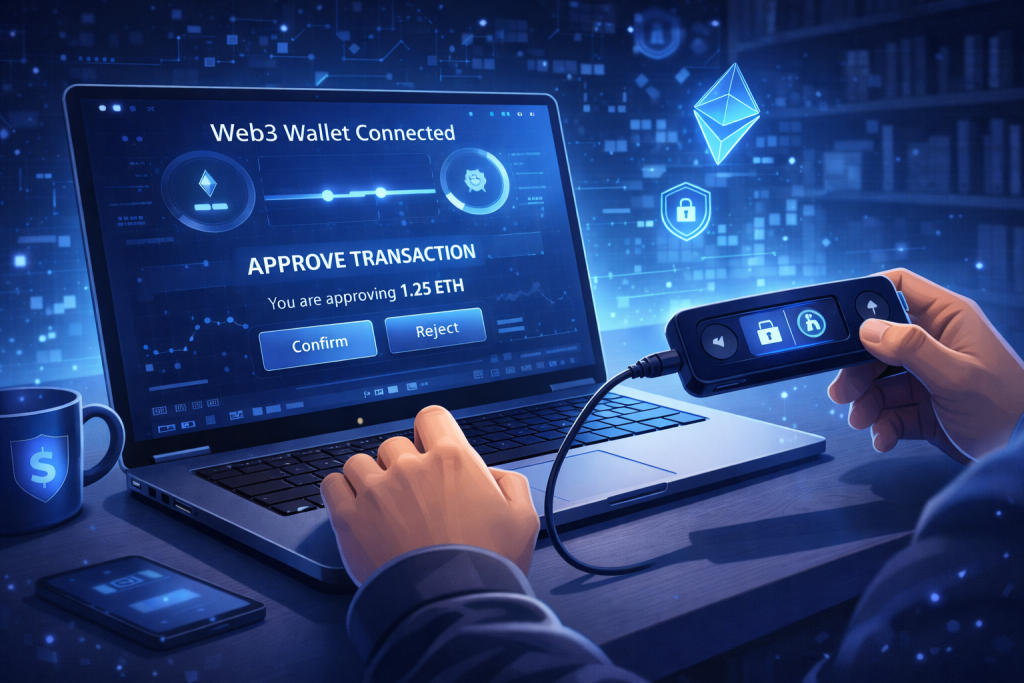
Step 4: Connect to a dApp and review permissions
Now visit a trusted decentralized app and connect your Web3 Wallet. Usually, you’ll click “Connect Wallet,” choose your web3 wallet provider, and approve the connection request. Before you hit confirm, read what the app is asking for. Some connections only view your public address, while others ask for token approvals or signature permissions. That difference matters. A clean interface can make everything feel harmless, but this is where awareness counts. If available, use screenshots from official help pages to compare what a normal connection prompt should look like. Familiarity makes it much easier to spot something suspicious.
Step 5: Sign or approve transactions with care
Once connected, you may be asked to sign a message or approve a transaction. These are not always the same thing. A simple signature may confirm identity or wallet ownership, while an approval can allow a token to be used by a smart contract. Read every prompt slowly, especially the amounts and permissions. This is where terms like Blockchain, Crypto Market, Coin Market, Bitcoin, and Investment often get tossed around by excited users, but none of them matter if you approve the wrong contract. The smart move is boring and simple: pause, review, and only then confirm.
Web3 Wallet Tips and Warnings
Using crypto tools gets easier with repetition, but the biggest wins usually come from good habits rather than clever tricks. First, always double-check the website URL before connecting your wallet. A fake page can look polished, familiar, and completely legitimate, right up until your funds disappear. Second, use a fresh wallet for experimenting when possible. Many people keep one wallet for testing and another for larger holdings. That small bit of separation creates a helpful safety buffer.
Another tip is to keep your approvals tidy. Over time, wallets can collect permissions you no longer need. If your web3 wallet supports reviewing token allowances or connected apps, make that part of your routine. It’s like cleaning out an old keychain. The fewer unnecessary permissions floating around, the better.
Also, don’t let speed pressure you. Decentralized apps often create urgency with countdowns, new launches, or limited-time opportunities. That pressure can cloud judgment fast. I once saw someone nearly approve a huge transaction because they were distracted by the fear of missing out. The page looked urgent, the button looked harmless, and the wallet prompt looked routine. Only a last-second reread caught the issue. Slow reading saved real money.
Security is not just about preventing hacks. It’s also about reducing small, human mistakes. Copying the wrong address, using the wrong network, misunderstanding a signature request, or storing a phrase carelessly are all common problems. The good news is that most of them are avoidable.
One more useful habit is to begin with one task at a time. Don’t try to swap tokens, bridge assets, mint collectibles, and learn advanced settings all in one sitting. Build confidence in layers. That’s how a confusing tool starts feeling familiar. A single bolded generic keyword fits here too: digital wallet. At its core, that’s what you’re learning to handle well, just with more responsibility attached.
| Tip or Warning | Why It Matters |
|---|---|
| Use official links only | Helps prevent phishing and fake wallet prompts |
| Test with small amounts | Reduces losses while learning |
| Read every approval request | Prevents accidental token access or overspending |
| Store recovery phrase offline | Protects your funds from device or cloud compromise |
| Review old permissions | Limits ongoing exposure to risky contracts |
| Avoid rushed decisions | Gives you time to spot mistakes before confirming |
Conclusion
Learning to use a Web3 Wallet doesn’t have to feel intimidating. The process becomes much simpler when you break it into a few smart steps: choose a trusted wallet, back up your recovery phrase, fund it with a small test amount, connect carefully to a dApp, and review every permission before approving anything. That’s the rhythm. Nothing flashy, just solid habits that protect you while helping you participate in Cryptocurrency with more confidence.
The best part is that once you get comfortable, the wallet stops feeling like a barrier and starts feeling like a tool you actually control. That shift is powerful. You’re no longer guessing your way through each prompt. You understand what you’re seeing and why it matters.
So take it one step at a time. Stay curious, stay cautious, and let your first few interactions be small and deliberate. That’s usually how confident users are made.
FAQ
What is a Web3 Wallet and how does it work in Cryptocurrency?
A Web3 Wallet is a self-custody tool that lets you store assets, connect to decentralized apps, and approve onchain actions without depending on a traditional centralized platform. In Cryptocurrency, it acts like your personal access key. Instead of logging in with a username and password, you use cryptographic ownership to prove that the wallet is yours. That means more control, but also more responsibility for security and backups.
How can I use a Web3 Wallet safely for decentralized app transactions in Cryptocurrency?
To use a Web3 Wallet safely, stick to official app links, store your recovery phrase offline, send test amounts first, and read every signature or approval request carefully. In Cryptocurrency, many losses happen because users move too quickly, not because the technology is impossible to understand. Safe use comes from habits: verify the URL, confirm the network, inspect permissions, and avoid clicking through prompts just because they look familiar.
Which beginner mistakes should I avoid when setting up a Web3 Wallet for Cryptocurrency use?
The biggest beginner mistakes with a Web3 Wallet are downloading fake apps, saving recovery phrases in insecure places, sending funds on the wrong network, and approving permissions without reading the details. In Cryptocurrency, small errors can have big consequences. A good beginner approach is to start with a trusted wallet, practice with low-value transactions, and learn the difference between connecting, signing, and approving before interacting with more advanced dApps.
Resources
- Coinbase. Using My DApp Wallet.
- Nadcab. Web3 Crypto Wallet.
- Kraken. Web3 Wallets.
- YouTube. How to Use a Web3 Wallet.
- Twitter. Web3 Wallet Insights.