
Cybersecurity professionals know that protecting sensitive information is essential to maintaining trust and staying compliant with modern data regulations. For companies seeking to monitor file access, detect suspicious behavior, and enforce security policies, Varonis, also known by its stock symbol VRNS, provides a comprehensive data protection platform. This guide walks you through setting up the system, explaining the tools needed and the steps required for success. Whether you’re in a small business or a large enterprise, having insight into who accesses your files and when can stop data breaches before they happen. Implementing Varonis Systems empowers you to spot threats early, automate responses, and meet regulatory needs—all from a single interface.
Varonis Materials or Tools Needed
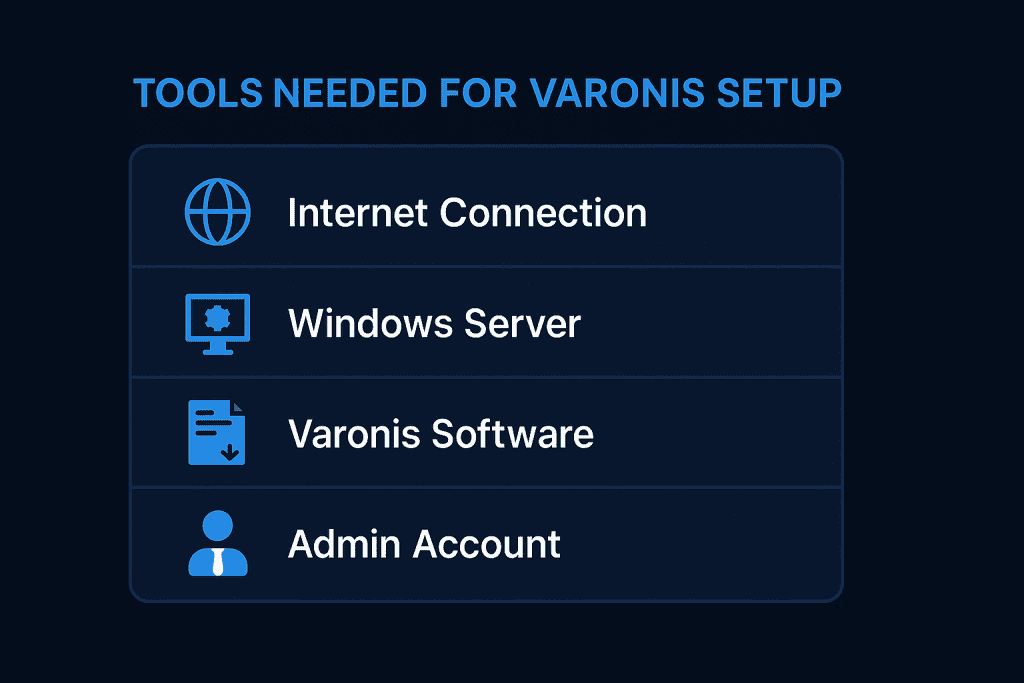
Before diving into the implementation process, it’s important to gather all the necessary tools and fulfill prerequisites. Ensuring you have these will help avoid delays and smooth out the process.
Here’s what you’ll need:
| Tool / Requirement | Description |
|---|---|
| Varonis License | Obtain from Varonis |
| Admin Access to File Servers | Needed for scanning and permission mapping |
| SQL Server Instance | Required for Varonis DatAdvantage backend |
| Service Account Credentials | Used for scanning file shares securely |
| Internet Connection | For updates, external integration, and licensing |
Varonis Instructions
Step 1: Install the Varonis Suite
Begin by downloading the installer package from the official site. Select a Windows Server that meets all minimum hardware and system requirements to ensure smooth operation. Once installation begins, you’ll be prompted to choose which modules to include.
Depending on your license, you may activate features like DatAdvantage for user monitoring, a classification engine to scan sensitive data, or automation tools for managing routine workflows. It’s also important to connect the system to a SQL Server database, where all collected insights are stored. Double-check the database setup to avoid issues later on. This initial configuration sets the stage for the platform’s overall performance, so carefully follow each step and confirm the environment is stable before proceeding.
Step 2: Configure Your Scanning Environment
After installation, access the main dashboard to define where your organization’s files reside. This involves specifying servers or shared storage areas. Administrator privileges are required, so ensure you have the correct credentials ready. Once locations are added, the system will start analyzing access patterns and permissions.
You can set scans to run continuously or on a defined schedule, such as during off-hours. This approach provides up-to-date visibility into file interactions without slowing down operations during peak times. With the scanning environment configured correctly, your team gains reliable insight into data usage across departments.
Step 3: Integrate Active Directory
Now it’s time to sync the platform with your company’s user directory, typically Active Directory. From the dashboard’s Directory Services tab, input the required connection information. The software will then retrieve your user data, including staff names, departments, and group memberships.
This connection enables the system to link users with the files they access, making unusual behavior easier to detect. For example, if someone in sales starts reviewing confidential engineering documents, you’ll know right away. This visibility plays a major role in enforcing access control policies and protecting sensitive content.
Step 4: Setup Alerts and Threat Models
Navigate to the alerting section and activate predefined security rules. These templates are designed to highlight concerning actions—such as mass file copying or unauthorized access attempts. You can fine-tune these alerts to reflect your company’s risk tolerance.
In addition, behavioral models are included to recognize signs of potential ransomware or insider threats. For instance, if an employee suddenly opens a large volume of files, an alert will notify your security team. You can also design custom rules specific to your industry or workflow. This step is vital for spotting issues early and reducing damage from potential breaches.
Step 5: Deploy Dashboards and Reporting

Wrap up the process by setting up dashboards that offer real-time views of your environment. These visuals let you monitor who accessed what, when, and from where. You can start with default templates or build custom dashboards focused on particular teams or data types.
Reporting features allow you to schedule summaries or trigger detailed logs after key events. These reports are essential for audit trails, regulatory compliance, and leadership briefings. By setting up clear reporting tools, you transform data security into a proactive part of your overall IT strategy.
Varonis Tips and Warnings
A thoughtful setup is key to successful implementation. Below are tips to guide your configuration, along with warnings to help you avoid common pitfalls.
| Tip | Warning |
|---|---|
| Start with a test run on a smaller server Testing in a limited environment lets you explore features and fix issues before deploying widely. It also reduces risks to business-critical systems. | Avoid deploying across all systems without testing Going live all at once without preparation can cause downtime, alert overload, and configuration errors that are hard to trace. |
| Use dedicated service accounts Create scanning accounts with only the access needed. This limits risk and helps with auditing. | Don’t rely on global admin accounts for scanning Using high-privilege credentials exposes your network if those accounts are misused or compromised. |
| Choose low-traffic times for full scans Schedule scans outside business hours to reduce load and avoid performance issues. | Real-time scans can slow down busy systems Heavy scanning during peak hours may disrupt file access and slow your network. |
| Regularly update your alert settings Review alerts often to keep them relevant and accurate. | Default alerts may not catch every unique risk Pre-set alerts are helpful but may not detect threats unique to your setup. |
Conclusion
Implementing a data-centric security solution helps safeguard your organization’s most critical information. It allows you to clearly see who is accessing files, when it happens, and whether the activity is out of the ordinary. This kind of visibility helps catch both accidental mishandling and intentional misuse before they cause real damage. At the same time, it supports compliance with industry regulations, streamlining the process for audits and assessments.
Whether your goal is to prevent internal data leaks or stop external cyberattacks, this platform gives you the ability to take action early—long before small risks turn into costly issues. If you’re committed to strengthening your data security strategy, there’s no better moment to get started. Visit their Twitter to see why they’ve been named a top performer in the field of data protection.
FAQ
What is the main benefit of using Varonis in cybersecurity?
Varonis provides unparalleled visibility into data access, enabling proactive threat detection and minimizing the risk of data breaches. It also simplifies compliance with regulations like GDPR, HIPAA, and SOX.
Can Varonis Systems detect insider threats in real-time?
Absolutely. Varonis employs behavior-based threat models and alerting mechanisms that can detect and notify you of suspicious activities as they happen, helping you respond quickly.
Is Varonis VRNS suitable for small to mid-size companies?
Yes, while Varonis is enterprise-grade, many SMBs successfully implement it thanks to its modular design and flexible deployment options. The return on investment is strong, particularly where cyber threats are a concern.
Resources
- Varonis. Official Website
- Varonis. About the Company
- Salesforce. Varonis on AppExchange
- Microsoft Azure. Varonis on Azure Marketplace
- LinkedIn. Varonis LinkedIn Page
- YouTube. Varonis Product Demo Video