

Email is a battlefield these days. With spam, phishing, and other cyber threats knocking daily on our inbox doors, having a sturdy shield in place isn’t optional—it’s essential. That’s where proofpoint steps in. It’s one of the top-tier cybersecurity solutions for businesses and individuals who take email protection seriously.
Whether you’re managing a company’s email security or just trying to keep your personal inbox squeaky clean, learning how to use it can make a massive difference. Let’s walk through the process in a user-friendly, non-techy way.
Proofpoint Tools Needed
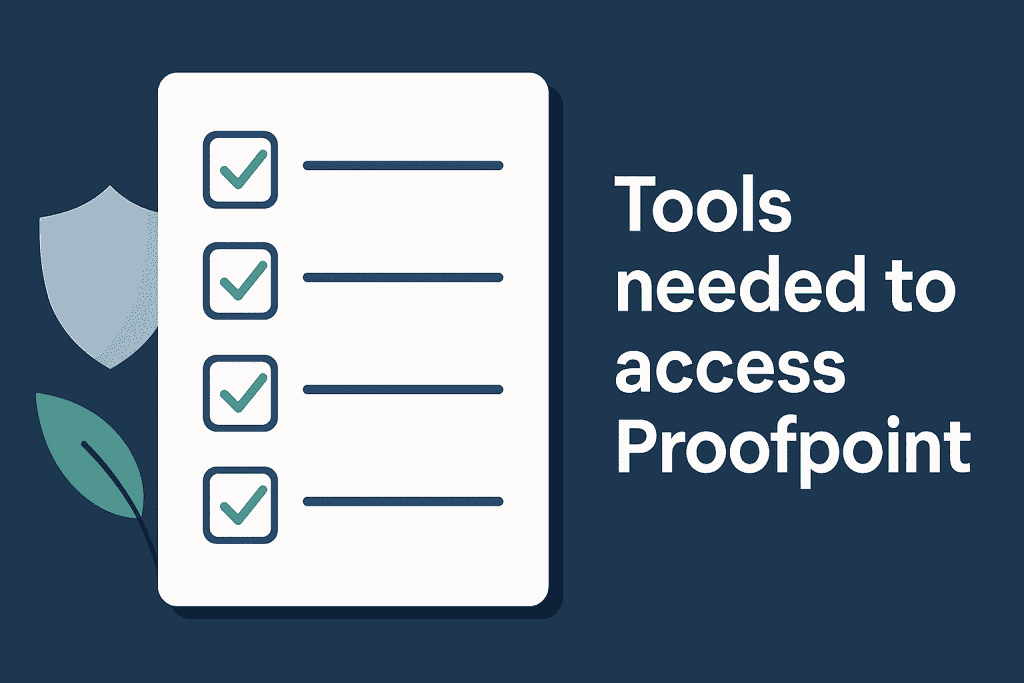
Before we roll up our sleeves and dive into using Proofpoint, let’s gather the essentials. You don’t want to start setting things up and realize you’re missing a key element. Here’s what you need to hit the ground running.
| Item | Description |
|---|---|
| Proofpoint Login URL | Use the official portal |
| Email Account | A valid organizational or business email |
| Microsoft Account (Optional) | For accounts integrated with Microsoft 365 |
| Internet Browser | Preferably Chrome, Firefox, or Edge |
| Admin Access (For Admins) | Required for advanced configurations or domain-wide settings |
Pro tip: Bookmark the login page and keep your credentials in a secure password manager. This little habit will save your future self a lot of frustration!
Proofpoint Instructions
Getting started with proofpoint isn’t as complex as it might sound. In fact, most users can get the hang of it in just a few minutes. Here’s how you can start using it to protect your email like a pro.
Step 1: Logging In to Proofpoint
Let’s begin at the very beginning—signing in. To access Proofpoint’s dashboard, head over to the Proofpoint login page. Use your work email address and the password associated with your account.
If your organization uses Microsoft 365, you can also log in with your Microsoft account. Once logged in, you’ll land on the dashboard, your command center for all things email protection.
Pro tip: Bookmark the login page for quick access—trust me, you’ll visit often.
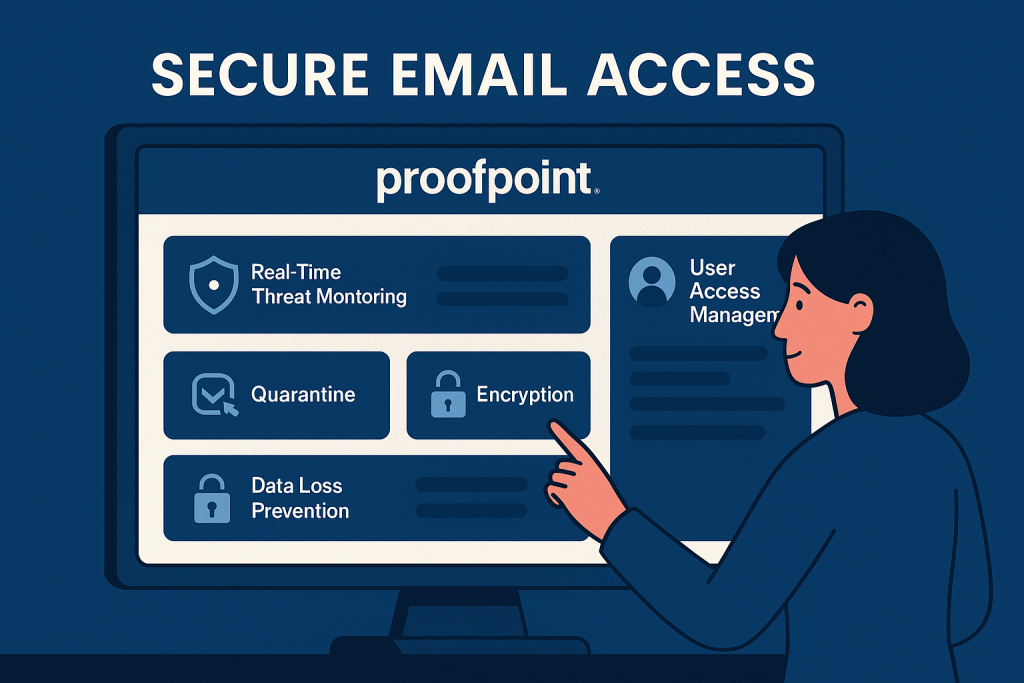
Step 2: Exploring the Dashboard
The dashboard is your command center. It’s clean, intuitive, and filled with tools to help you:
- Monitor email traffic
- Review quarantined messages
- Configure safe and blocked senders
- Customize notification settings
Every section is clearly labeled and structured for usability. Take a few moments to explore—it’s the digital equivalent of knowing where your emergency exits are.
Did You Know? Proofpoint uses advanced machine learning to evaluate every email’s authenticity before it hits your inbox.
“When I first logged into the dashboard, I realized it had been blocking over 200 spam emails a week—emails I never even knew I was receiving!”
Step 3: Managing Quarantined Emails
This is where the real action happens. When Proofpoint suspects something fishy, it sends that email to quarantine instead of delivering it.
Inside the Quarantine tab, you can:
- Release emails you trust
- Mark items as spam
- Block suspicious senders with a click
You can also preview messages right inside the dashboard—no risky downloads or external redirects required.
Why This Matters: In a recent phishing simulation, companies using this reported a 40% drop in successful attacks. That’s a massive win!
Step 4: Adjusting Sender Lists
Lets you fine-tune who can land in your inbox. This ensures that frequent contacts don’t get stuck in limbo and that spammers stay out for good.
Here’s how to use the Sender Lists:
- Add people to your Allow List if you regularly receive legitimate messages from them.
- Use the Block List for known spam sources, suspicious domains, or marketing emails you’d rather avoid.
This setting alone can drastically reduce false positives and keep your productivity up. The risk of releasing malicious content accidentally.
Step 5: Customizing Notifications
Don’t like getting flooded with alerts? You can change that. It lets you choose how often you’re notified about quarantined items. Whether it’s daily, weekly, or never, you’re in control.
Set your preferences under Account Settings, and enjoy a less cluttered inbox experience while still staying informed.
Proofpoint Tips and Warnings
Now that you know the basics, let’s polish your experience with a few insider tips—and cautionary tales. Here are a few lessons that users (sometimes painfully) learn along the way.
| Tip | Mistake |
|---|---|
| Use Strong Passwords: Keeps your account secure from brute force attempts | Ignoring Quarantine Digests: You might overlook urgent client or internal emails |
| Enable Two-Factor Authentication: Adds a second layer of security | Whitelisting Unverified Senders: Could let malicious content slip through |
| Check Quarantine Daily: Prevents missing time-sensitive messages | Forgetting to Update Preferences: Might miss or get overloaded with irrelevant notifications |
| Educate Your Team: Reduces the risk of human error across your organization | Using Public Wi-Fi for Login: Increases the risk of account hijacking due to unsecured network traffic |
Insider Tip: Avoid logging in while connected to airport or café Wi-Fi—these hotspots are prime real estate for cyber snoops.
Conclusion
You made it! And more importantly, you now know how to use proofpoint to protect your inbox like a pro. It’s not about being tech-savvy—it’s about taking simple steps that lead to powerful results.
From setting up your dashboard to managing quarantined emails and fine-tuning notifications, It hands you the reins to your own email security. So go ahead—log in, explore, and breathe easier knowing your digital door is locked tight.
FAQ
How do I log into Proofpoint for the first time in a cybersecurity setting?
Navigate to Proofpoint’s secure login page, enter your credentials, and follow any prompts. For Office 365 users, logging in via Microsoft may be quicker and easier.
What if Proofpoint blocks a valid email I need in my cybersecurity role?
No worries! Simply head to your Quarantine tab, locate the email, and click “Release.” You can also whitelist the sender to prevent future mishaps.
Can I change how often Proofpoint sends notifications about spam or threats?
Yes. Go to your settings and adjust the frequency of digest emails—daily, weekly, or custom. This helps balance awareness and email overload.
Resources:
- Proofpoint Help Center. Where and how to log in to Proofpoint Essentials
- Proofpoint. Official Portal
- Proofpoint Help Center. How to log in with a Microsoft account
- X . Proofpoint Login Access
- YouTube. How to Log in to Proofpoint