
The Trezor Safe 5 matters because it combines strong security with an easier day-to-day experience, including a color touchscreen, haptic feedback, and setup through Trezor Suite. Trezor’s official materials position it as a device built for both usability and advanced protection, making it a practical choice for crypto holders who want more control over self-custody. This guide reviews the process because secure setup is not just a technical chore. It is the moment where good habits begin.
Trezor Safe 5 Materials or Tools Needed
Before you start, gather everything you need so the Trezor Safe 5 setup feels smooth instead of rushed. The original draft lists the wallet, USB-C cable, recovery seed card, and manual inside the box. Trezor’s current setup flow also points users to Trezor Suite and official onboarding pages, so it is smart to prepare your computer, internet connection, and a quiet space where nobody can see your recovery words.
| Item | Why You Need It |
|---|---|
| Trezor Safe 5 device | The hardware wallet itself |
| USB-C cable | Connects the device to your computer |
| Recovery backup card | Used to write down your wallet backup |
| Computer or laptop | Needed for Trezor Suite setup |
| Internet connection | Required to download official tools |
| Private workspace | Helps keep your wallet backup secure |
Trezor Safe 5 Instructions
Step 1: Inspect the package first
Before plugging in your Trezor Safe 5, check the packaging carefully. Make sure the box looks sealed and untampered, and confirm that all included items are present. This first step sounds basic, but it matters because a hardware wallet should never feel suspicious from the start. The original blog correctly emphasizes checking the package before setup.
Take a slow moment here. A rushed start often leads to sloppy security habits later.
Setting up a hardware wallet can feel intimidating the first time, especially when you know one wrong move could affect access to your crypto. That is exactly why this guide focuses on the Trezor Safe 5 in a clear, calm, and beginner-friendly way. The task here is simple: learn how to set up the Trezor Safe 5 correctly so your crypto storage starts on a strong foundation.
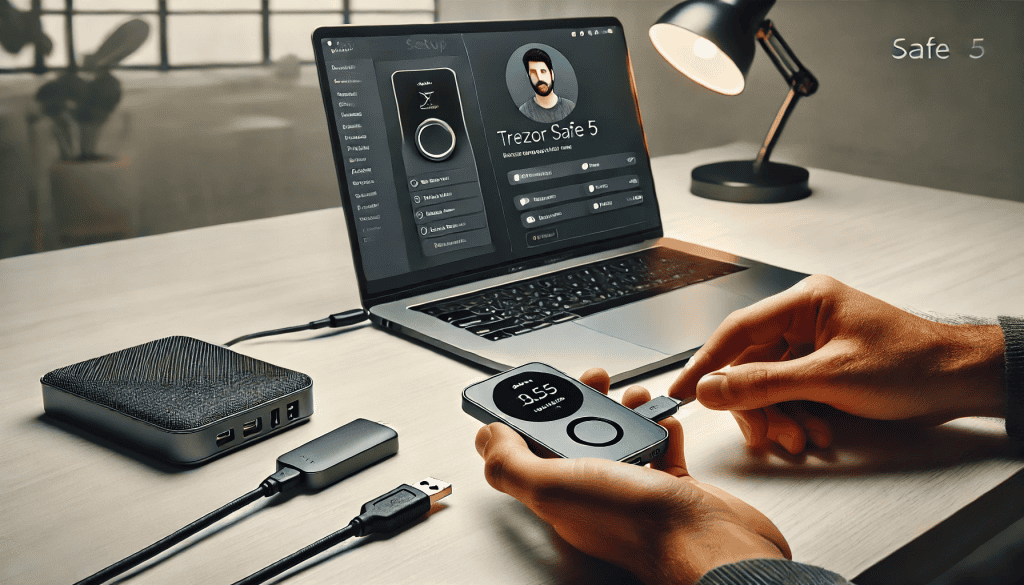
Step 2: Connect the Trezor Safe 5 to your computer
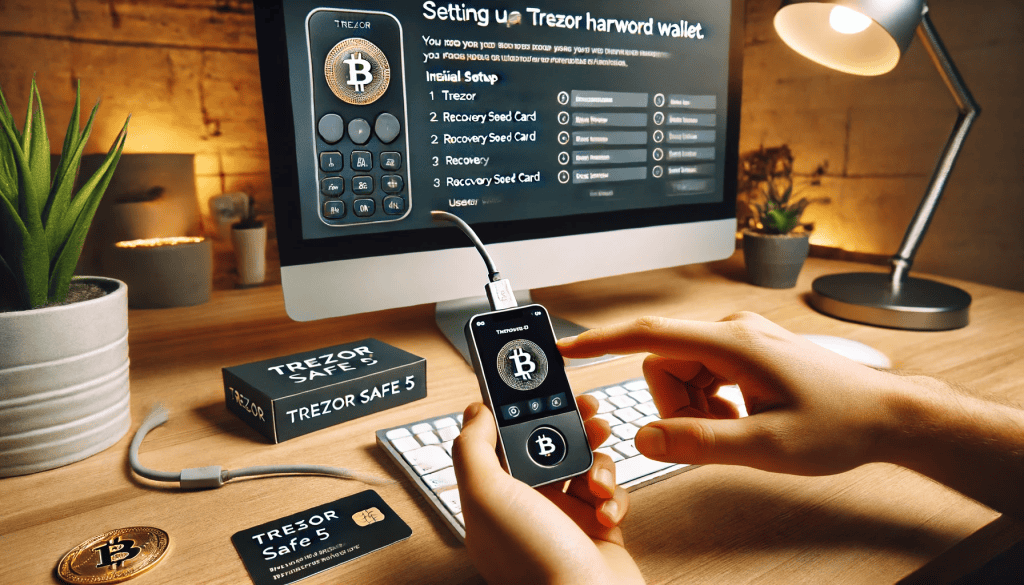
Use the included USB-C cable to connect the Trezor Safe 5 to your computer. Then head to Trezor’s official start page or setup guide to begin installation. Trezor now directs users through Trezor Suite for setup, firmware installation, wallet creation, backup, and PIN configuration.
This is one place where patience pays off. Only use official Trezor pages, not random downloads or third-party links.
Step 3: Install Trezor Suite and update firmware
Once connected, install Trezor Suite and follow the prompts. Trezor’s official knowledge base explains that setup includes firmware installation as part of the getting-started process. The Trezor Safe 5 is designed to work within this ecosystem, so this step helps make sure the device is genuine, current, and ready for secure use.
If you have ever skipped software updates before, do not do that here. Even something routine like Windows Update teaches the same lesson: updated software reduces avoidable risk.
Step 4: Create a new wallet and generate your backup
Next, choose the option to create a new wallet on your Trezor Safe 5. The device will guide you through generating your backup. Trezor’s Safe 5 documentation highlights backup choices, including Single-share and Multi-share Backup options, which are part of its advanced recovery design.
Write the backup down carefully and keep it offline. Do not photograph it, do not email it, and do not save it in cloud notes. This is your recovery lifeline if the device is ever lost, damaged, or replaced.
Step 5: Set a strong PIN
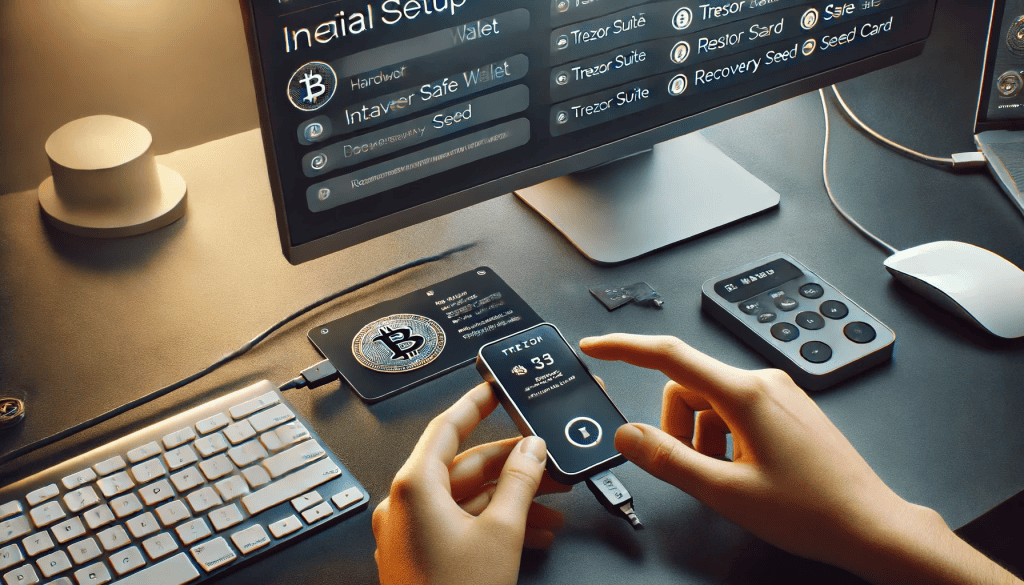
After creating the backup, set a PIN on the Trezor Safe 5. The original draft includes this as a key part of the setup, and Trezor also notes PIN-based protection as part of the device’s security model.
Choose something hard to guess but easy for you to remember. Avoid obvious patterns or repeated digits. This one decision strengthens the barrier between your wallet and unwanted access.
Step 6: Explore optional expert settings
If you want more control, the Trezor Safe 5 offers extra security options like passphrase protection. Trezor describes the Safe 5 as featuring an NDA-free EAL 6+ Secure Element, PIN and passphrase protection, and upgraded backup support.
This step is optional, but it is worth reading about before you skip it. Advanced settings can add meaningful protection, especially for long-term holders.
Step 7: Finish setup in Trezor Suite
Once the wallet is initialized, open Trezor Suite and complete synchronization. From there, you can manage supported assets, create accounts, and review wallet functions in one place. Trezor’s own guides position Trezor Suite as the central app for device setup and crypto management.
At this point, your Trezor Safe 5 is no longer just a device in a box. It becomes part of your actual crypto security routine.
Trezor Safe 5 Tips and Warnings
The best setup advice for the Trezor Safe 5 is simple: slow down and protect the backup like it is more valuable than the device itself. The wallet can be replaced. Your backup cannot be guessed or magically recovered if lost. Trezor’s FAQ also stresses the importance of understanding backup options and your responsibility for access to funds.
A few extra reminders matter here. Be wary of Hacking attempts disguised as wallet support, giveaway pages, or urgent account alerts. Modern Cyber Threats can also include fake videos, cloned setup pages, or even deepfake that mimic trusted personalities. For added privacy on public networks, some users also pair their browsing habits with tools like Express VPN, though your core wallet protection still depends on official sources and sound backup practices.
| Tip | Why It Matters |
|---|---|
| Keep backup offline | Prevents digital exposure |
| Use only official Trezor pages | Avoids phishing and fake downloads |
| Set a strong PIN | Adds device-level protection |
| Review passphrase options carefully | Can add another security layer |
| Never share recovery words | Legitimate support will never ask |
Conclusion
Setting up the Trezor Safe 5 is not complicated, but it does deserve your full attention. Check the box, connect the device, install Trezor Suite, create your wallet, protect your backup, and set a strong PIN. Those steps form the heart of a safe setup.
The good news is that the Trezor Safe 5 is built to make self-custody less stressful, with a vivid touchscreen, haptic feedback, Secure Element protection, and guided setup resources. If you take your time and stick to official instructions, you will give your crypto a much stronger home from day one.
FAQ
Why should I use a hardware wallet?
Hardware wallets offer enhanced security by keeping your private keys offline, reducing the risk of hacking and unauthorized access.
What is a recovery seed?
A recovery seed is a 24-word phrase that can be used to recover your wallet if the device is lost or damaged. It’s crucial to store it securely.
Can I use my Trezor Safe 5 with multiple devices?
Yes, the Trezor Safe 5 can be used with multiple computers or devices, provided you have the necessary software installed on each.
Resources
- CryptoSlate. Trezor Launches New Touchscreen Hardware Wallet with Custom Expert Setup.
- The Block. Trezor Safe 5: A Comprehensive Review of the New Crypto Hardware Wallet.
- Cointelegraph. Trezor Usability: Paid Onboarding for the Safe 5 Hardware Wallet.
- NFT Plazas. Trezor Safe 5 Hardware Wallet: Enhanced Security and Usability.
- Bankless. Trezor Debuts New Hardware Wallets.