
Technology trends are moving faster than ever, and one skill that has become both practical and rewarding is learning how to build a Gaming PC. In today’s world, prebuilt machines can be expensive or limited in customization, while building your own offers better value, performance, and the satisfaction of creating something unique.
I still remember the first time when i ask myself “how to build a Gaming Pc”. The sight of all those parts laid out on my desk was intimidating, but once I got started, it felt like piecing together a puzzle. By the end, when I pressed the power button and saw the screen light up, I realized I had unlocked a new level of confidence. If you’ve been thinking about taking control of your computer setup, now is the perfect time to dive in.
Materials or Tools Needed
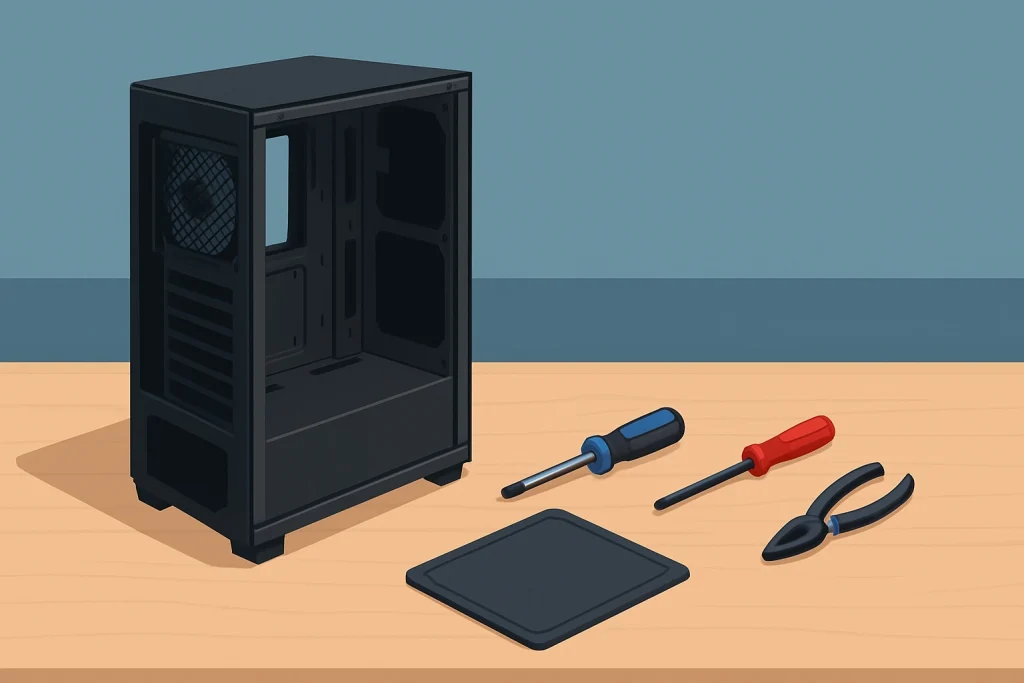
Before you begin how to build a Gaming PC, gather your parts and tools. Think of this step like preparing your recipe before cooking—you don’t want to pause halfway through because you forgot something.
| Tool / Material | Description | Why It’s Important |
|---|---|---|
| PC Case | The shell that holds all components | Provides structure and airflow |
| Motherboard | Main circuit board | Connects all parts together |
| CPU (Processor) | The “brain” of the computer | Handles calculations and operations |
| RAM (Memory) | Temporary storage | Speeds up multitasking |
| GPU (Graphics Card) | Handles visuals | Crucial for gaming and creative tasks |
| Storage (SSD/HDD) | Long-term data storage | Keeps files and software |
| PSU (Power Supply) | Provides power to components | Ensures stability and safety |
| Cooling System | Fans or liquid cooling | Prevents overheating |
| Screwdriver | Basic hand tool | Needed for installation |
| Anti-static Wrist Strap | Prevents static damage | Protects delicate components |
Gaming PC build Instructions
Trying how to Build a Gaming PC may seem overwhelming, but when broken down into steps, it becomes an exciting project. Let’s go step by step.
Step 1: Prepare Your Workspace
before trying on how to build a Gaming Pc, Clear a large table with good lighting. Wear an anti-static strap to protect components from static electricity. Open the PC case and lay out all your parts. Take a deep breath—you’re about to start your journey into the world of technology trends. Having a tidy workspace not only keeps you organized but also reduces the risk of losing small screws or damaging fragile parts. Many first-time builders overlook this stage, but preparation often makes the biggest difference between a stressful experience and an enjoyable one
Step 2: Install the CPU and RAM
Place the motherboard on its box for stability. Unlock the CPU socket, align the processor correctly, and gently place it in. Then, insert the RAM sticks into their slots with a firm push until they click. This step always feels magical—like setting the heartbeat of your machine. Be sure to consult your motherboard’s manual to ensure you’re placing the RAM in the recommended slots for optimal performance.
Step 3: Mount the Motherboard
Secure the motherboard inside the case using screws. Ensure the back I/O panel lines up correctly. This step can be fiddly, but patience pays off. A properly mounted motherboard makes the rest of the process smooth. Double-check that none of the cables are trapped underneath before tightening everything into place.
Step 4: Add the Power Supply (PSU)
Slide the PSU into its compartment, usually at the bottom or top of the case. Connect the main cables to the motherboard but don’t worry if it feels like spaghetti—you’ll manage cable organization later. Using a modular power supply can make this stage easier, as you only attach the cables you need.
Step 5: Install Storage and GPU
Mount your SSD or HDD into the storage bay. For the GPU, insert it into the PCIe slot on the motherboard and secure it with screws. This is the step where your PC begins to feel like a powerful machine rather than a skeleton. It’s also a moment of pride—the GPU is often the most eye-catching component.
Step 6: Connect Cables and Cooling
Plug in all necessary power and data cables. Connect the CPU cooler or case fans to keep your PC running cool. Cable management matters here—tuck wires neatly to improve airflow and aesthetics. Neatly organized cables also make it easier to troubleshoot or upgrade your build later.
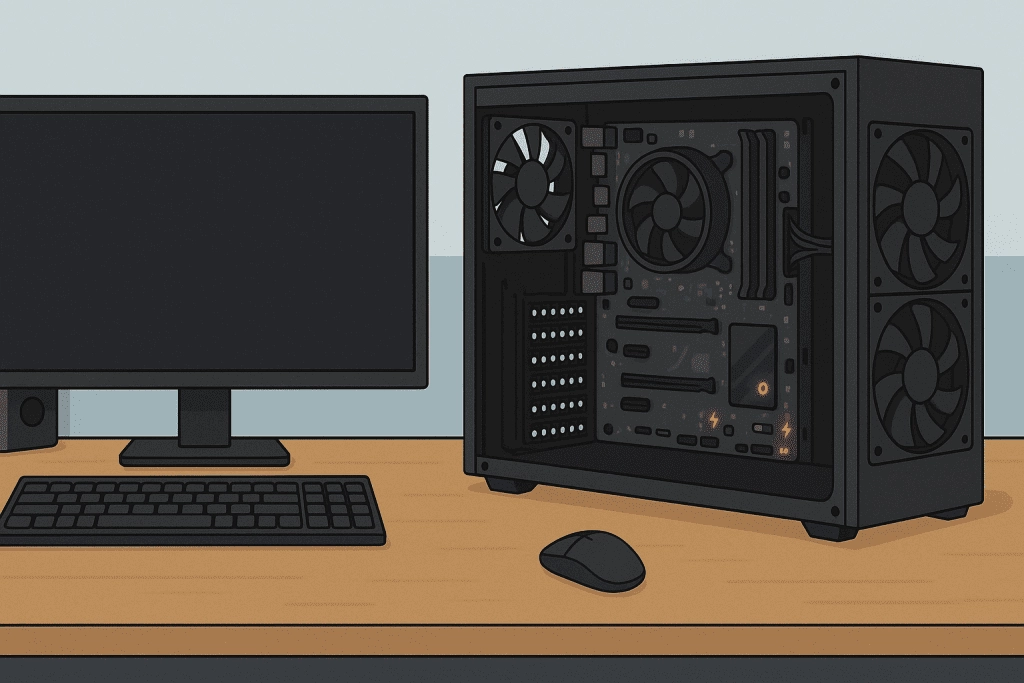
Step 7: Power On and Test
Close the case, plug in your monitor, keyboard, and mouse, and hit the power button. If everything lights up, congratulations—you’ve successfully learned how to build a Gaming PC! If not, don’t panic. Recheck cable connections and ensure components are seated properly. Sometimes the smallest oversight—like forgetting to flip the PSU switch—can stop the whole system from starting.
Tips and Warnings
Even though building a Gaming PC is rewarding, it comes with challenges. Here’s a table of tips and warnings to guide you.
| Tips for Success | Warnings to Avoid |
|---|---|
| Double-check component compatibility | Don’t force parts into slots |
| Watch tutorial videos alongside this guide | Avoid cheap, low-quality power supplies |
| Use cable ties for cleaner management | Don’t skip cooling—heat damages parts |
| Update BIOS and drivers after setup | Don’t touch circuit contacts directly |
| Start with mid-range builds before going high-end | Avoid ignoring warranty guidelines |
Conclusion
Learning how to build a gaming pc is about more than just putting together hardware. It’s about gaining control, saving money, and enjoying the freedom of customization. By following these steps—preparing your space, installing components carefully, and double-checking connections—you’ll unlock the satisfaction of watching your creation power on for the first time.
FAQs
FAQ
What’s the easiest way to learn how to build a Gaming PC for beginners?
The easiest way is to follow step-by-step guides like this one, watch tutorial videos, and start with mid-range parts to avoid overwhelming complexity.
How long does it take to learn how to build a PC?
For most beginners, learning how to build a PC can take a weekend. The assembly itself often takes 2–4 hours if you’ve gathered all tools and compatible parts in advance.
Do I save money when I learn how to build a PC compared to buying prebuilt?
Yes, building your own PC can save money while giving better performance for your budget. Plus, you can choose exactly which parts fit your needs.
Resources
- PCPartPicker: Build Guides.
- Tom’s Hardware: PC Building Tutorials.
- Linus Tech Tips: YouTube PC Build Guides.
- How-To Geek: Building Your Own PC.
- TechRadar: Custom PC Buying Guide.