
Nmap scan is something exciting about exploring what’s running in your network. The first time I discovered how to map out connected devices using a simple command-line tool, it felt like unlocking a hidden map in a game. That tool? It’s called Nmap.
Whether you’re a student learning cybersecurity or someone who works in IT, this tool is like a flashlight in the dark. It shows you what services are active, which ports are open, and what systems are online. With just a few commands, you can scan devices and learn a lot about what’s happening behind the scenes.
In this guide, we’ll walk through using Nmap Scan. You’ll learn how to install it, use it, and avoid common mistakes along the way.
Tools Needed
Before starting, make sure you have everything you need. Here’s a quick checklist:
| Item | Description |
|---|---|
| Nmap Scan | The main tool for scanning. Free and open source. |
| Command Line Access | Terminal or command prompt on your computer. |
| Target IP/Domain | The address of the network or device you want to check. |
| Internet Connection | Optional but useful when scanning remote targets. |
You don’t need to be a networking expert, but having some basic understanding will help. Think of this as a learning experience, not just a task.
Step-by-Step Instructions
Step 1: Install Nmap on Your System
To get started, install the tool. It’s available for most systems.
On Linux, open a terminal and type:
sudo apt install nmapOn a Mac, use Homebrew like this:
brew install nmapFor Windows, download the installer from nmap.org and run it.
After installation, check if it’s ready:
nmap --versionYou should see version info. If you do, you’re all set.
Step 2: Try a Basic Scan
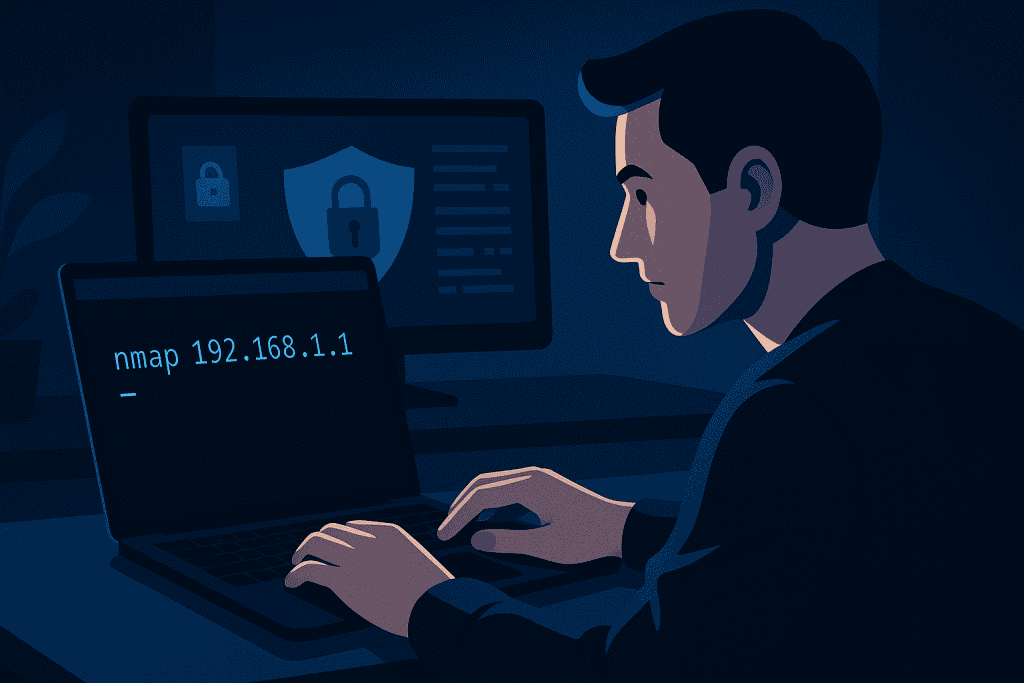
To see Nmap in action, scan your router or another device on your network. Type:
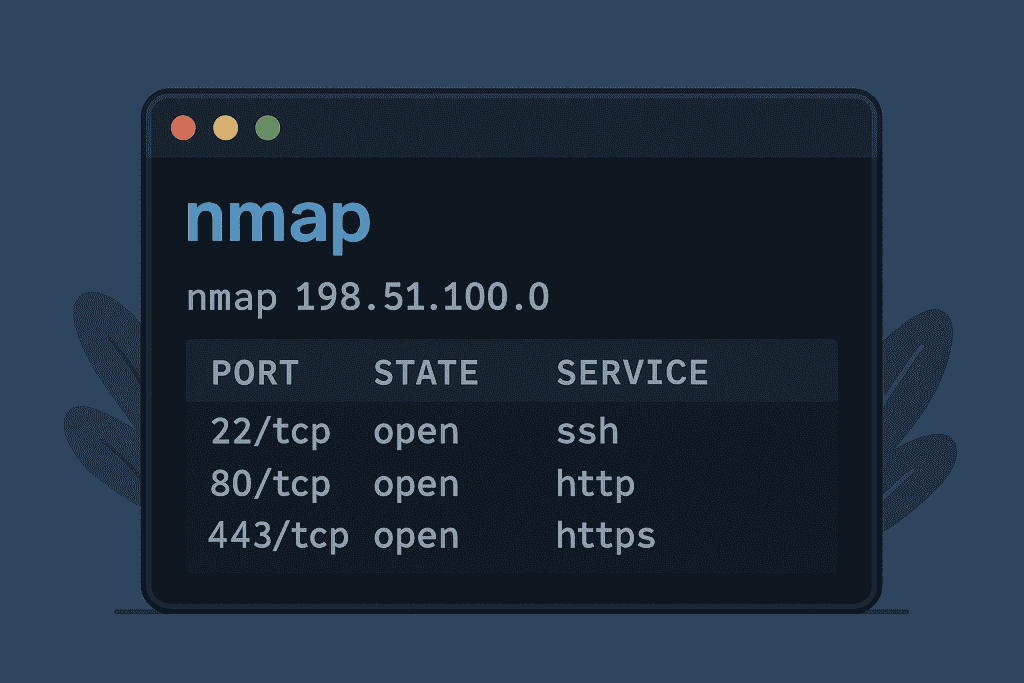
nmap 192.168.1.1Replace the IP address with your actual target. Nmap will respond with a list of open ports and services. It might show something like HTTP, SSH, or FTP.
I once used this to scan my smart TV and discovered it was running an outdated media server. That’s when I realized how much info these scans can uncover.
Step 3: Scan an Entire Network
You can go beyond a single device and check an entire network. Use this command:
nmap 192.168.1.0/24This will scan all 256 addresses in your local network. It’s a great way to find everything connected, from laptops to printers. You’d be surprised what shows up—especially those gadgets you forgot were even online.
Step 4: Check What Services Are Running
Want to know more than just port numbers? Add service detection:
nmap -sV 192.168.1.1Now Nmap tells you what’s behind each open port. It might say Apache HTTPD or OpenSSH. This helps you figure out if a device is secure or if it’s using outdated software.
Step 5: Use a Stealth Scan
A standard scan can be noisy. Firewalls and intrusion detection systems might notice it. But a stealth scan works differently:
nmap -sS 192.168.1.1This method starts the handshake process but doesn’t finish it. It can sneak past some defenses and is often used in penetration testing.
Step 6: Identify the Operating System
You can also guess what operating system a device is running. Try this:
nmap -O 192.168.1.1It looks at network responses and tries to figure out the OS. It might say Linux 5.X or Windows 10. It’s not always spot-on, but it gives you a helpful clue.
Step 7: Save Your Scan Results
If you’re working on a project or just want to keep records, you can save the output:
nmap -oN myscan.txt 192.168.1.1This writes the results to a text file. You can check it later or send it to someone on your team.
Tips and Warnings
Nmap Scan is powerful, but with power comes responsibility. Here are some personal notes from experience.
Tips for smoother scans:
| Tip | Why it helps |
|---|---|
Use -v for verbose mode | Shows you progress during the scan. |
| Scan during off-hours | Avoid network slowdowns or disruptions. |
Try -Pn for firewalled hosts | Skips ping check, useful when ping is blocked. |
Things to avoid:
| Mistake | What could happen |
|---|---|
| Scanning public IPs without permission | This can trigger security alerts or even legal action. |
| Running too many options at once | It might slow things down or crash weaker systems. |
| Ignoring results | If you see open ports, don’t assume it’s fine. Investigate further. |
A friend once ran an Nmap Scan on a school network just to experiment. The IT department detected the Nmap Scan traffic almost immediately, and it caused unnecessary panic. That experience highlights why every Nmap Scan must be done with proper authorization. Even a simple Nmap Scan can trigger intrusion detection systems if not configured carefully.
When performing an Nmap Scan, always start small before expanding to a full subnet Nmap Scan. Test your commands in a controlled lab environment before launching a broader Nmap Scan on production systems. Logging and documenting each Nmap Scan also helps you track changes over time. Most importantly, treat every Nmap Scan as a learning opportunity rather than just a technical task. Responsible use of Nmap Scan builds trust, skill, and stronger network security habits.
Conclusion
You’ve now learned how to use Nmap to scan and understand what’s running on a network. From spotting open ports to identifying active services, this tool gives you a clear view of your digital environment.
Start with your home network and practice safely. As you get comfortable, you’ll build the skills to use Nmap Scan confidently and responsibly. Just remember—only scan systems you have permission to check.
Stay curious, keep learning, and use what you find to make your network safer.
FAQ
What is Nmap Scan used for in cybersecurity?
It helps map out devices on a network. You can see open ports, services, and more. It’s one of the most trusted tools in security assessments and audits.
Is scanning networks with Nmap legal?
Only if you have permission. Scanning systems without approval can be considered illegal. Always get consent before running a scan.
How can I analyze the results of a scan?
Look at which ports are open and what services they’re running. Check for outdated versions or unfamiliar services. Each detail can lead you to a security insight.
Resources
- CourseDrill. Nmap Tutorial
- Medium. A Step-by-Step Guide to Nmap Scanning for Beginners
- HackerTarget. Nmap Tutorial
- NetworksTraining. Nmap Scan IP Range
- StationX. How to Use Nmap to Scan a Network