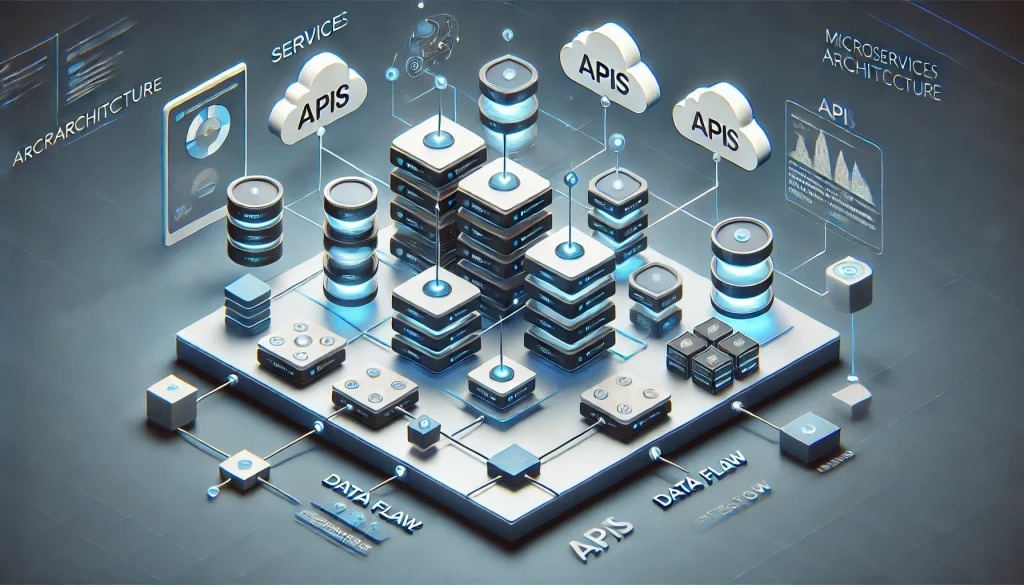
Microservice architecture has revolutionized how modern applications are developed. It breaks down complex software systems into smaller, manageable, and loosely coupled services. The microservice model is increasingly becoming a popular trend in the tech industry for its scalability, resilience, and flexibility. In this guide, we will walk you through the process of building with microservice architecture, an essential skill for industry professionals seeking to create more efficient and scalable applications.
Whether you’re an experienced developer or a beginner, understanding how to build microservices offers tremendous benefits, including faster development, easier maintenance, and the ability to scale services independently. Let’s explore the tools, techniques, and best practices needed to get started with this modern architectural approach.
Materials or Tools Needed
Before jumping into the process, you’ll need to have some prerequisites and tools in place:
- Programming Language: Familiarity with a language like Java, Python, or Node.js.
- API Design Tools: Tools like Swagger or Postman to design and test your microservices’ APIs.
- Containerization Software: Docker for creating lightweight, isolated environments for each microservice.
- Orchestration Platforms: Kubernetes to manage your microservice containers in production.
- Messaging Systems: Tools like RabbitMQ or Apache Kafka for communication between services.
Having these tools will ensure a smooth and scalable process when building microservices. Let’s dive into the step-by-step process of building with microservice architecture.
Step-by-Step Instructions

Step 1: Identify and Define Services
The first step in building with microservices is identifying the individual services that your application will require. A microservice breaks down a large application into separate, self-contained services that perform specific tasks. For example, in an e-commerce system, you might have services for managing user accounts, processing orders, and handling payments.
Focus on understanding the design patterns of your application. Each service should be autonomous and have a well-defined purpose. This will help in maintaining the system and ensuring that each service can be deployed and scaled independently.
Step 2: Design the API for Communication
After identifying your microservices, you need to design an API to allow these services to communicate with each other. APIs are the backbone of microservice architecture, as they enable interaction between services without tightly coupling them. You can use REST or GraphQL for your APIs, depending on your application’s needs.
Start with an API contract, which specifies how each service will communicate—what data they will send and receive. Tools like Swagger are excellent for designing and documenting these APIs. Focus on best practices in API design, such as using consistent naming conventions and ensuring that your API is stateless.
Step 3: Containerize the Microservices
Once you have defined your services and their APIs, the next step is to package each microservice into a container. Containerization allows microservices to run independently in isolated environments, making them easy to deploy and scale. Docker is the most popular tool for this step.
Each service should be containerized separately, ensuring that it contains all the necessary dependencies to run independently of other services. This way, if one service fails, it doesn’t bring down the entire system.
Step 4: Deploy and Orchestrate the Microservices
With your microservices containerized, the next step is deployment. You need to deploy each microservice on an orchestration platform like Kubernetes. This platform will manage the deployment, scaling, and operation of your services in production. Kubernetes automates many tasks such as service discovery, load balancing, and failover.
By deploying your microservices on Kubernetes, you ensure that they can scale efficiently and operate seamlessly across different environments, whether in development or production.
Step 5: Implement Monitoring and Logging
After deploying your microservices, it is crucial to implement monitoring and logging to track their performance and identify potential issues. Monitoring ensures that each service is functioning correctly, while logging provides insights into what is happening behind the scenes.
Tools like Prometheus or ELK (Elasticsearch, Logstash, and Kibana) stack are commonly used for this purpose. These tools help you track metrics like service uptime, request rates, and error rates, ensuring that you can detect and resolve issues early.
Do’s and Don’ts

Do’s:
- Use Independent Databases: Each microservice should have its own database to ensure isolation and independence from other services. This avoids bottlenecks and allows for more flexible scaling.
- Implement Fault Tolerance: Ensure that your system is resilient. Use techniques like circuit breakers and retries to manage service failures gracefully.
- Test Each Service Independently: Microservices are designed to work independently, so it’s important to test them in isolation. Unit testing and integration testing are both vital to maintaining quality and reliability.
Don’ts:
- Avoid Over-Complicating Your Services: A microservice should perform one function well. Don’t make your services too large or complex, as this defeats the purpose of using microservices.
- Do Not Over-Communicate: Excessive communication between services can lead to performance bottlenecks. Keep API calls to a minimum and batch requests whenever possible.
- Skip Security Practices: Don’t overlook security. Each microservice should be secured, especially if they handle sensitive data. Use authentication and encryption to protect your APIs.
By following these do’s and don’ts, you can avoid common pitfalls and ensure that your microservice-based system remains scalable, secure, and efficient.
Conclusion
Building with microservice architecture is a powerful way to improve the scalability, flexibility, and maintainability of modern applications. By breaking down large systems into smaller, independent services, developers can deploy, manage, and scale applications more effectively. As you work through this process, remember the importance of carefully designing your APIs, containerizing services, and using proper orchestration tools. These best practices will help ensure success as you build and scale your application.
FAQ
What is a microservice?
A microservice is a small, autonomous service that performs a single business function and communicates with other services via APIs.
Why use containers for microservices?
Containers ensure that each microservice runs in an isolated environment, improving scalability, consistency, and reliability.
How do microservices communicate with each other?
Microservices typically communicate via APIs, either through REST, GraphQL, or other messaging systems like RabbitMQ.
Resources
Atlassian. Building Microservices Architecture.
BMC. Microservices Best Practices.
Dev.to. Microservices Architecture Tutorial: All You Need to Get Started.
Medium. Building Your First Microservice.
Stackify. What are Microservices?
