
McAfee is one of the most well-known antivirus programs in the world, designed to protect your computer from viruses, malware, and other cyber threats. It offers features like real-time scanning, firewall protection, and web safety tools such as Webadvisor. While many users rely on it for security, others may find it slows down their system or prefer a different solution. Whether you’ve used Mcfree total protection or a basic version, knowing how to fully remove it with the mcafee removal tool ensures your system stays clean and runs smoothly.
McAfee is a global cybersecurity company that provides antivirus software to protect devices from viruses, spyware, and other online threats. Known for tools like Mcfree total protection and Webadvisor, McAfee helps users browse, shop, and work online safely. While it’s packed with features, some users choose to uninstall it due to performance concerns or preference for other security tools. That’s where the mcafee removal tool comes in—offering a quick and thorough way to cleanly remove McAfee from your system.
Tools Needed
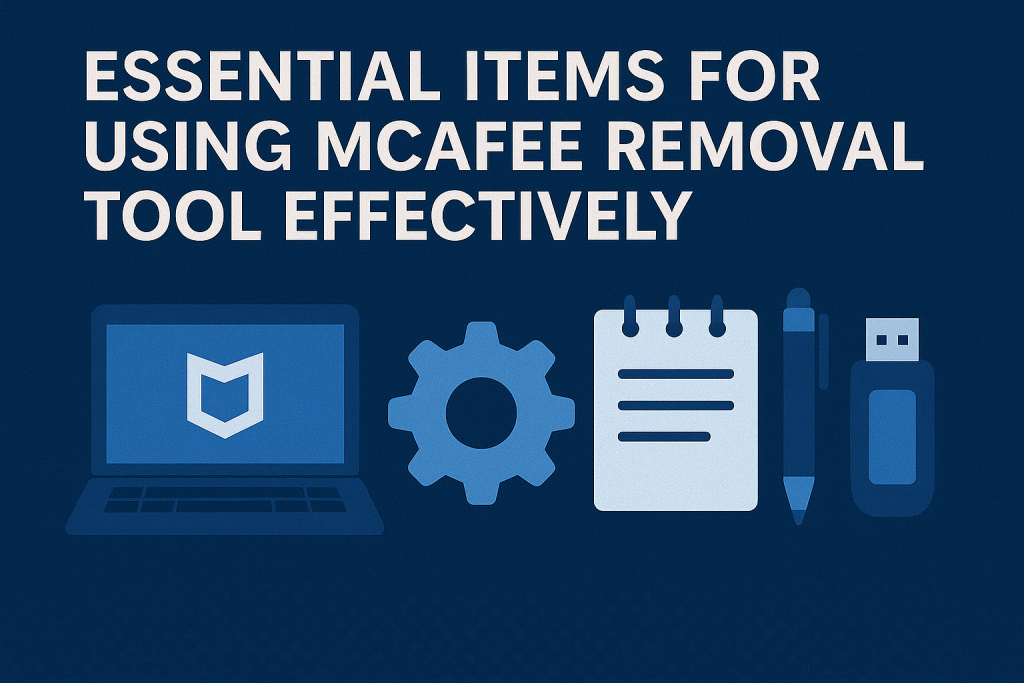
Before diving into uninstalling McAfee, let’s make sure you’ve got everything lined up. You won’t need a whole toolbox—just a few digital essentials. Most importantly, ensure you have a reliable internet connection, administrative access to your PC, and the official McAfee removal tool. Oh, and a pinch of patience never hurts either!
Here’s a quick look at what you’ll need:
| Item | Description |
|---|---|
| McAfee Removal Tool (MCPR) | Official tool provided by McAfee to remove all traces |
| Admin Access | Required to run and authorize uninstallation processes |
| Internet Connection | Needed to download the tool and access support pages |
| Backup of Important Files | Optional, but recommended just in case |
McAfee Removal Tool Instructions
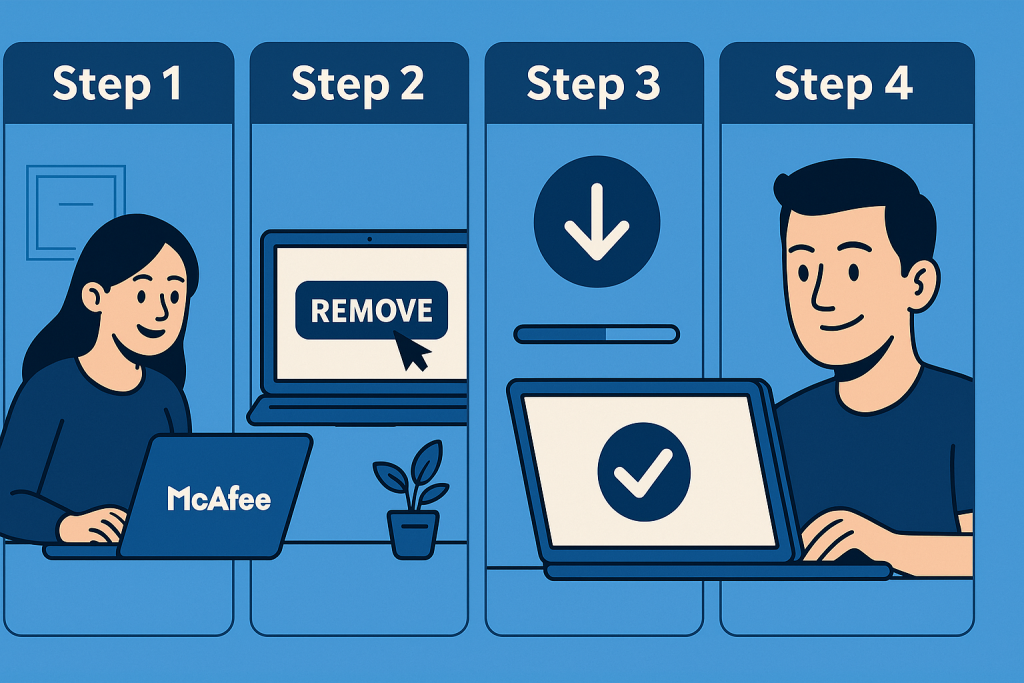
Uninstalling McAfee can be frustrating—it often leaves behind stubborn files. Luckily, the McAfee removal tool makes it easy. In this guide, you’ll learn how to completely remove McAfee from your PC in just a few simple steps. Let’s get started!
1. Step 1: Download the McAfee Removal Tool
First things first—head over to the official McAfee support page and download the latest version of the McAfee removal tool (also called MCPR). Once it’s downloaded, locate it in your Downloads folder. Double-click to launch the file.
You may be prompted with a User Account Control window—click “Yes” to proceed.
2. Step 2: Run the McAfee Removal Tool
Once the MCPR tool is safely downloaded, locate the file and double-click to run it. Windows may flash a User Account Control prompt asking if you want to allow the tool to make changes—click “Yes” to continue. When the tool opens, you’ll see a straightforward interface asking you to accept the End User License Agreement (EULA).
Agree, then enter the CAPTCHA security code to prove you’re not a robot. From here, the tool springs into action, scanning your system for every McAfee component, including background services, registry entries, and even browser add-ons like Webadvisor.
The scan and removal process may take a few minutes, depending on your system’s speed and how much McAfee data is present.
3. Step 3: Restart Your Computer
After the tool finishes doing its thing, it’ll prompt you to restart your computer. Don’t skip this step—it’s crucial for completing the removal. When your system boots back up, the tool will finalize its cleanup in the background.
4. Step 4: Check for Leftovers
Although MCPR is thorough, it’s always a good idea to double-check that no fragments of McAfee are left behind. Open your Control Panel and go to “Programs and Features” (or “Apps” in Windows 10/11 settings), and scroll through the list of installed programs. Look for any McAfee entries—especially things like Mcfree total protection or browser plugins. If anything is still hanging around, right-click and uninstall them manually.
You can also run a quick system file search for “McAfee” to spot stray folders that might not have been picked up. This step ensures your system is truly free of McAfee and running clean.
Tips and Warnings
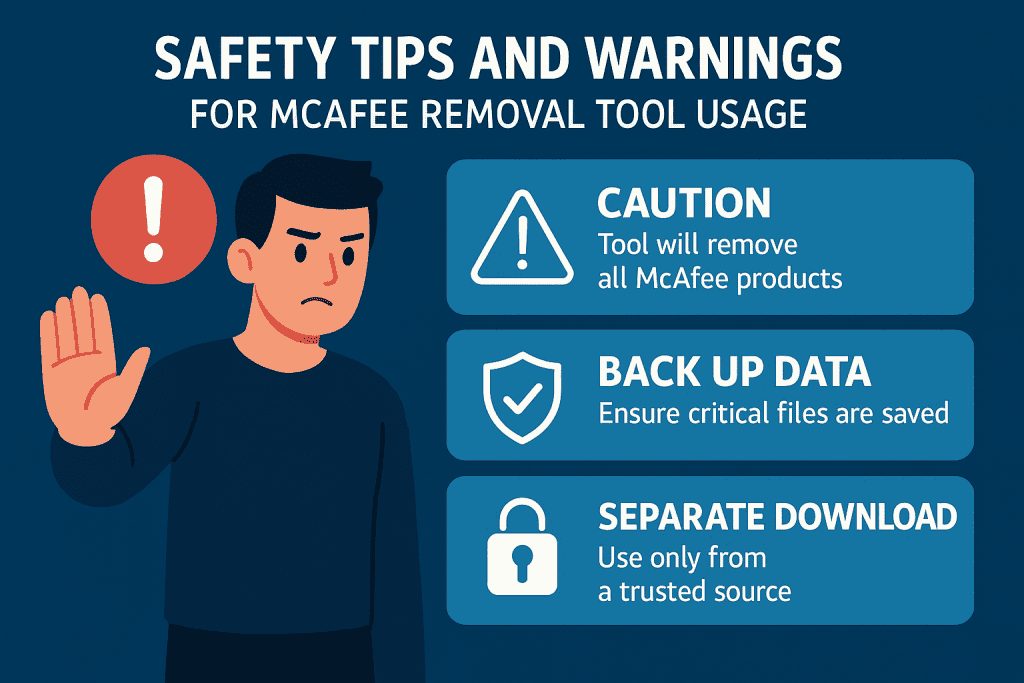
Before you dive into removing McAfee, it’s smart to know a few insider tips and watch out for common pitfalls. The McAfee removal tool is powerful, but using it carelessly can lead to issues. This section will help you navigate the process safely and avoid mistakes that could leave behind unwanted files or compromise your system.
Before you run the McAfee Removal Tool, take a quick minute to prepare your system so the cleanup goes smoothly. Close all open apps (especially browsers), because add-ons like Webadvisor can stay “locked” while the browser is running. If you’re on a work laptop, double-check you have admin rights—without them, the McAfee Removal Tool may fail midway or skip services. It also helps to temporarily disable other security tools (including Windows Defender’s real-time protection) during removal, then turn them back on afterward; sometimes security programs block uninstallers from deleting files. Finally, if the tool reports an error code, don’t panic—reboot, run it again, and ensure you downloaded the latest MCPR directly from McAfee’s support page.
| Tip | Explanation |
|---|---|
| Backup Important Files | Just in case something goes sideways |
| Use the Official McAfee Tool | Avoid third-party tools that may include cyber threats |
| Disable Any VPN (like Express VPN) | VPNs can interrupt the removal process |
| Don’t Skip the Restart | It completes the process and clears residual files |
| Watch Out for Manual Errors | Don’t delete random folders—use the tool first |
Conclusion
And just like that, you’ve successfully removed McAfee from your system using the mcafee removal tool. It’s a simple process when done right, and now your system is ready for a fresh start—or a new antivirus program. Don’t forget to keep your machine protected and stay alert for potential cyber threats!
FAQ
Can I use the McAfee removal tool on Windows 10 or 11?
Yes! The mcafee removal tool is compatible with both Windows 10 and Windows 11. Make sure you’re using the latest version for best results.
Will the McAfee removal tool uninstall Webadvisor completely?
Absolutely. The tool is designed to clean out all associated McAfee components, including Webadvisor, ensuring nothing is left behind.
Do I need to reinstall antivirus after using the mcafee removal tool?
Yes. Once McAfee is gone, your system is unprotected. It’s recommended to install another antivirus program or enable Windows Defender right away.
Resources
- McAfee. How to use the MCPR tool
- Microsoft Support. Guide for Completely Removing McAfee
- CNET. How to Uninstall McAfee Antivirus
- Comparitech. Uninstall McAfee: Full Guide
- YouTube. How to Remove McAfee – Video Tutorial