
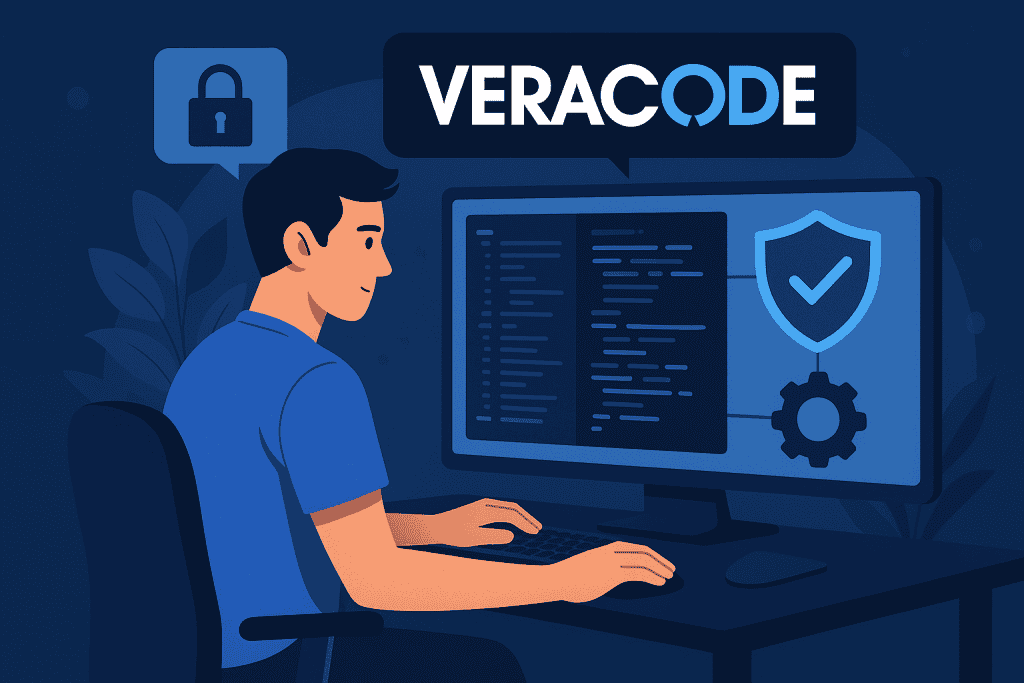
If you’re a developer navigating the ever-evolving world of cybersecurity, then you’ve likely heard about Veracode—a leading name in appsec tools. Whether you’re a security-conscious coder or part of a DevSecOps team, integrating into your workflows can dramatically elevate your software’s security posture.
In today’s fast-paced development environments, code moves from commit to deployment at lightning speed. But here’s the catch: every line of code could be a potential cyber threat if left unguarded. This is where Veracode steps in as your silent guardian, quietly scanning, analyzing, and identifying vulnerabilities before they wreak havoc.
In this guide, I’ll walk you through how to set up and use it effectively within your CI/CD pipeline, using their powerful CLI. I’ll also toss in tips, personal anecdotes, and a bit of hard-earned wisdom to help you make the most of this essential security analysis tool.
Veracode Tools Needed
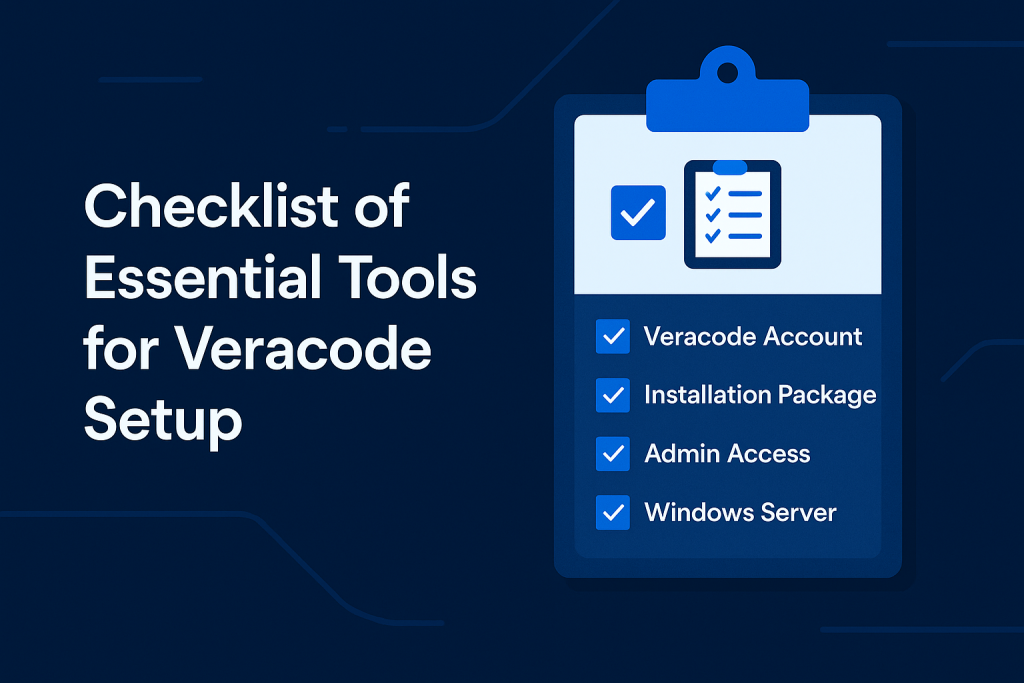
Before diving into the setup, you need to be properly equipped. The following list covers all essential components and prerequisites to guarantee a smooth experience while setting up and using Veracode.
Think of it like prepping for a camping trip—you don’t want to realize you forgot the matches after reaching the woods. Similarly, a successful setup requires just the right set of tools.
| Required Item | Purpose |
|---|---|
| Veracode Account | Grants access to Veracode platform and dashboard |
| API ID & Key | Allows secure CLI authentication |
| Veracode CLI | Enables command-line scans and automation |
| Java Runtime (JRE) | Required to run the CLI tool properly |
| Zipped Source Code Archive | Ensures all files are correctly prepared for scanning |
| CI/CD Platform (e.g., GitLab, GitHub Actions, Jenkins) | Enables automation of scans across environments |
| Internet Access | Facilitates tool downloads and scan uploads |
Bonus tip: Keep your credentials in a secure secrets manager like HashiCorp Vault or GitHub Secrets. Exposed keys are a silent security breach just waiting to happen.
Veracode Instructions
Ready to roll up your sleeves? In this step-by-step section, we’ll walk through the full integration—from setting up the CLI to automating scans in your CI/CD platform. Even if this is your first time working with security analysis tools, don’t worry—we’ve got you covered.
Step 1: Download and Install the Veracode CLI
Your first task is installing the Veracode CLI, which serves as your command center for managing security scans. You can find the latest CLI package on Veracode’s official documentation page. After downloading, extract the CLI tool into a dedicated folder on your local machine or build server.
Once installed, set up your system’s environment variables so that you can call the CLI globally from any directory. This makes it easier to script and automate tasks later.
Troubleshooting tip: If you receive a “command not found” error, double-check that the CLI path was added to your system’s PATH variable correctly.
Step 2: Authenticate with Veracode
Now it’s time to connect your CLI to your Veracode account. To do this, you’ll need your API credentials, which are available from your user dashboard under the API Credentials section.
Rather than hardcoding credentials into your scripts, use secure authentication techniques such as saving credentials to a .veracode profile on your system. This keeps them separate from your codebase and ensures you follow best practices.
You’ll know the authentication was successful if you can query basic CLI commands and receive a valid response from the server.
Step 3: Prepare Your Code for Scanning
Before you scan, your application must be packaged properly. Veracode requires your application code to be archived into a .zip file. This allows the CLI to upload everything as a single, unified payload for static analysis.
To keep your scan focused and efficient:
- Remove node_modules, vendor directories, and other build artifacts.
- Exclude test files or temporary directories.
- Include all necessary files and configurations your app depends on.
Why this matters: A well-prepared archive leads to faster scans and fewer false positives. Incomplete or bloated uploads can cause delays or failed scans—no one wants that in a fast-moving release cycle.
Step 4: Initiate a Static Analysis Scan
Now that your app is packaged and ready, it’s time to run your first scan.
Using the CLI, initiate a scan and provide necessary flags such as your file path, application name, and scanning profile. If it’s your first scan, the CLI can also create the profile for you.
Once the scan begins, you’ll see output messages indicating the scan progress. After completion, log into the Veracode dashboard to review your scan results and download detailed reports.
Pro insight: The CLI allows you to chain commands and automate scanning workflows. With clever scripting, you can integrate it into almost any part of your development lifecycle.
Step 5: Integrate with CI/CD Tools
Automation is where it truly shines. By integrating it into your CI/CD pipeline, you eliminate manual steps and ensure every code push goes through security checks before hitting production.
Depending on your platform, the integration process will vary slightly. Here are some platform-specific ideas:
- GitLab CI/CD: Add a job in
.gitlab-ci.ymlthat calls the Veracode CLI and runs the scan before deployment. - GitHub Actions: Use GitHub Secrets to store credentials and call this in a step using
runscripts. - Jenkins: Use build steps or Groovy scripts to integrate CLI commands into the pipeline.
The result? A fully automated security process that scales with your team and catches threats early.
Veracode Tips and Warnings
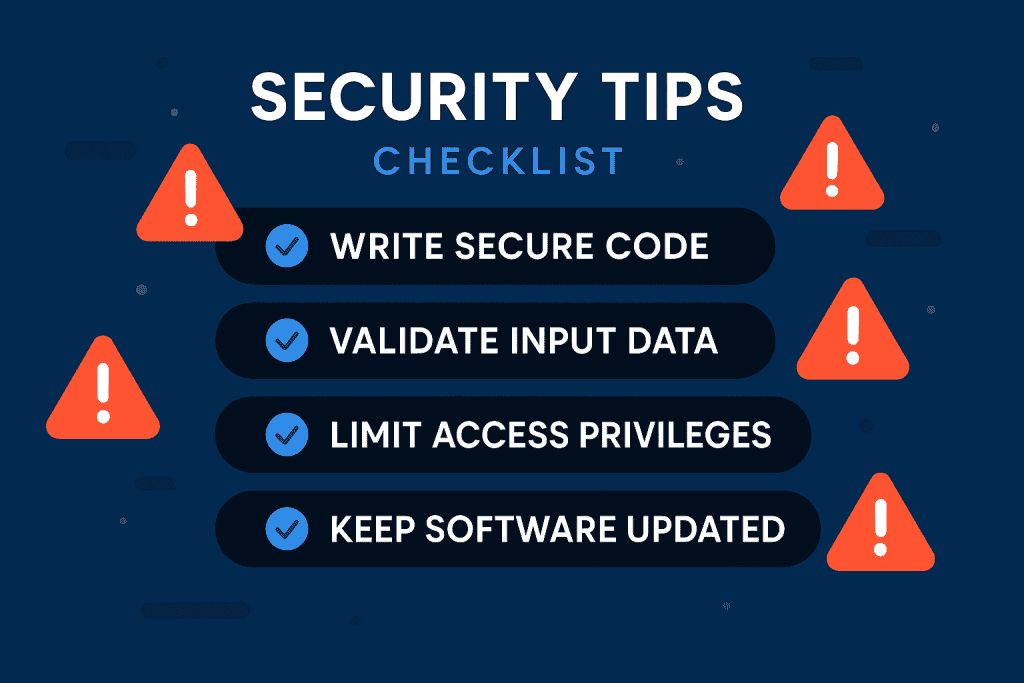
Even seasoned developers run into bumps when working with new tools. This section shares battle-tested advice to help you avoid common mistakes and set yourself up for success with Veracode.
| Tips | Mistakes |
|---|---|
| Automate your scans early in the CI/CD process to catch vulnerabilities before testing or staging. | Uploading unzipped code archives. This only accepts .zip files for scans. |
| Use distinct application profiles for different environments like dev, test, and prod. | Not refreshing expired API keys. This will silently reject requests with invalid credentials. |
| Monitor your dashboard frequently to analyze trends in your code’s security posture. | Treating security scan failures as optional warnings. Always block deployments on high-severity issues. |
| Schedule scans for larger applications during off-hours to avoid CI/CD bottlenecks. | Including unnecessary files (logs, builds, binaries) in your zipped archive, which can slow down or break scans. |
Conclusion
Integrating it into your DevOps process is more than a security upgrade—it’s a commitment to building safer, smarter software. Whether you’re working in a fast-paced startup or a large enterprise, the Veracode CLI gives you a powerful way to stay ahead of threats without slowing down innovation.
By now, you’ve walked through setup, authentication, scanning, and full CI/CD integration. And with the added pro tips and warnings, you’re prepared to avoid common pitfalls and maximize the value of every scan.
So don’t just read this guide—use it. Pick a project and try running a scan today. You’ll be surprised how easy it is to make security a seamless part of your workflow.
FAQ
How can I securely authenticate Veracode CLI in my pipeline?
Use encrypted secrets or environment variables provided by your CI/CD platform. This keeps your API keys hidden and secure from accidental exposure.
Can I run both static and dynamic scans through Veracode CLI?
Yes. Veracode supports both Static Application Security Testing (SAST) and Dynamic Analysis (DAST). You can trigger these scans separately or integrate them within your pipeline for continuous security.
Why does Veracode require zipped code instead of scanning directly from folders?
Zipping the source code reduces transfer errors, speeds up upload time, and helps ensure the scanning process includes only necessary files.
Resources
- Veracode. CLI Static Analysis Integration
- Veracode. Integrating CLI with CI/CD
- Medium. Mastering Veracode
- YouTube. Veracode Integration Tutorial
- Stack Overflow. Veracode in GitLab CI/CD