
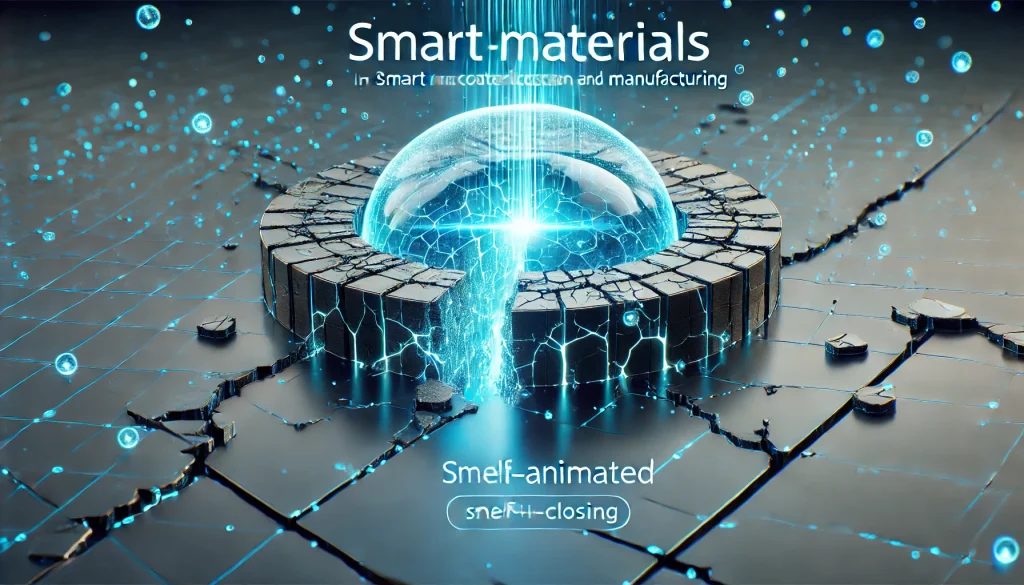
The first time I dragged a Smart Material onto a rough LP model and watched it “snap” into place—edge wear, dirt in crevices, highlights on raised details—I actually laughed out loud. That’s the charm of the workflows: they make texturing feel less like painting every pixel and more like directing a tiny team of assistants. In the world of digital creation (games, product viz, 3D printing previews, and tech demos), building a reusable material saves hours and keeps your work consistent across assets. For industry pros, a material library means faster iteration and cleaner pipelines. For hobbyists, a material creation is simply fun—because you can experiment, fail safely, and still end up with something that looks polished.
Tools Needed
To create with the setups, you’ll want a reliable texturing tool, a simple model to test on, and a repeatable process for tweaking and exporting. The results depend heavily on baked maps (curvature, AO, position), so preparing your model matters as much as choosing textures. If you also want to craft physical prototypes, a simple cutting tool can help you test real-world behavior alongside digital Smart Material previews.
| Tool / Material | What it’s used for |
|---|---|
| Substance 3D Painter | Apply and build the effects that adapt to baked maps |
| Substance 3D Designer (optional) | Create more flexible, parameter-driven Smart Material-style generators |
| LP model (low poly) + good UVs | Your testing “canvas” for Smart Material behavior |
| Baked maps (AO/Curvature/Normal/Position) | Essential for Smart Material edge wear and dirt placement |
| Cricut machine (optional) | Precise cutting if you’re testing physical responsive sheets |
| Workspace board / test surface | Quick checks for light, moisture, heat, and finish consistency |
Smart Material Instructions

Step 1: Pick the right Smart Material goal
Before you open Painter, decide what your material is supposed to do. Is it stylized metal with comic-like highlights? Weathered plastic with scratches? Or a tech surface that “reacts” in your renders by shifting roughness under light? Defining the goal makes your material easier to build and reuse. I like to write one sentence like: “This material should look clean at a distance but reveal fine wear near edges.” That sentence becomes your north star when you’re tempted to add ten extra layers.
Step 2: Prepare your model and bake maps
Its effects become believable when Painter has the right baked maps. Import your LP model, then bake mesh maps (AO, Curvature, World Space Normal, Position, Thickness if useful). This is the “secret sauce” that lets a Smart Material automatically place edge wear, grime, and shading where it makes sense on your geometry. Adobe’s Painter docs explicitly note that Smart Material behavior depends on baked maps to adapt to your mesh.
Quick tip: if your curvature looks noisy, fix normals or increase bake quality—your Smart Material will immediately look cleaner.
Step 3: Start from a template Smart Material
In Substance 3D Painter, choose a material that’s close to your target (metal, plastic, rubber, stylized). Drag it onto the model and observe what you like and what feels wrong. This “taste check” saves time. For example, if the edge wear is too strong, you’ll know you need to tame curvature-driven masks. Think of this as adopting a starter material—then customizing it until it becomes yours. If you prefer learning by example, stylized material tutorials can be a great reference point.
Step 4: Build your own Smart Material layer stack
Now build a material from the ground up:
- Start with a base Fill Layer (color/roughness/metallic).
- Add a second Fill Layer for variation (slightly different roughness or hue).
- Add anchor points and generators for edge wear (curvature) and dirt (AO).
- Add micro detail (grunge) at a low intensity so the material doesn’t look “procedural.”
This is where it starts feeling like advanced technology—you’re programming a look, not painting it. The best Smart Material stacks are simple, readable, and adjustable.
Step 5: Make the Smart Material adjustable (parameters that matter)
This becomes truly powerful when you can reuse it across many assets. Expose only the parameters you’ll actually tweak: roughness intensity, wear amount, dirt level, base color tint, and maybe a scratch scale. If you’re using Designer, you can create a more flexible material setup and then bring it into Painter workflows; GarageFarm highlights how building materials inside Designer can help create more flexible library assets.
Rule of thumb: if you won’t adjust it in production, don’t expose it—keep the material clean.
Step 6: Test the Smart Material under different lighting
Don’t trust one viewport angle. Rotate the HDRI, change the light intensity, and zoom in/out. A Smart Material that looks great in harsh lighting might look flat in soft lighting—or vice versa. Test on at least two models if possible: one boxy hard-surface asset and one curved asset. This step reveals whether your Smart Material relies too much on curvature or if your grunge scale is mismatched. I also like to do a “tiny thumbnail test”: zoom far out. If the Material still reads well, you nailed it.
Step 7: Save, organize, and reuse your material
Once it’s working, save your material with a name that describes the intent (e.g., “Smart Material – Stylized Steel CleanEdge”). Add tags and version notes (“v1.2 – softer wear, reduced dirt”). Future-you will be grateful. Also export presets if your team needs consistent results. This is how the platforms work becomes a real pipeline: repeatable, predictable, and fast. It also encourages experimentation—because you can branch a material into variants without losing your original.
Smart Material Tips and Warnings

Its creation is surprisingly forgiving—until it isn’t. Most “bad” results come from a few repeatable mistakes: weak bakes, overpowered generators, or too many competing layers. The goal is controlled realism or controlled stylization, not chaotic noise. If you’re aiming for Innovation, treat your Smart Material library like a product: test it, refine it, and keep it consistent.
| Tips for success | Warnings to avoid |
|---|---|
| Bake high-quality curvature/AO for reliable material effects | Skipping bakes → A material won’t “stick” correctly to geometry |
| Keep grunge subtle; scale matters in material realism | Oversized grunge makes assets look toy-like |
| Expose only useful sliders (wear, dirt, roughness) | Too many parameters makes Material hard to reuse |
| Test on multiple meshes and lighting setups | One-model success can hide Smart Material problems |
| Save versions and name clearly | “Material_01_FINAL_FINAL” is how libraries die |
If you’re bridging to physical prototypes, remember: digital Smart Material looks don’t automatically translate to real-world behavior—heat, moisture, and surface finish change everything.
Conclusion
Once you build a material that adapts cleanly to curvature and AO, you stop texturing from scratch and start designing systems. That’s the real win: a material becomes a reusable tool you can apply across assets, projects, and even teams. Start small—one metal material or one plastic material—then iterate. With every version, you’ll get faster, your results will look more consistent, and your library will become a creative superpower. Try your first material today and watch your workflow level up.
FAQs
What are smart materials?
Smart materials are innovative substances that react dynamically to environmental stimuli like light, temperature, and pressure, changing their properties in response.
Can smart materials be used in 3D printing?
Yes, many smart materials are being used in 3D printing to create responsive and adaptive structures, enhancing both functionality and sustainability.
What software should I use to create with smart materials?
Substance Painter and Substance Designer are industry-leading software tools for creating digital designs with smart materials.
Resources
- How to Make Stylized Material.Substance Painter Tutorial.
- Free Tutorial: How to Make Smart Material in Substance Painter. ArtStation Blog.
- Inside Substance Designer.GarageFarm Blog.
- Smart Materials. Atria Innovation Blog.
- Smart Materials: The Future of 3D Printing. Sculpteo Blog.