Parametric design is an innovative approach in 3D modeling that allows designers to create adaptive models by defining parameters like dimensions, relationships, and constraints. When working with Fusion 360, a powerful tool from Autodesk, parametric design offers an efficient way to modify and iterate designs while maintaining accuracy and flexibility. Whether you’re a fan of 3D printing or an industry professional, learning how to create parametric designs can transform your workflow by saving time and improving precision. This tutorial aims to guide you through the essential steps of creating parametric models, making it easy for beginners and professionals alike to get started.
Materials or Tools Needed

- Fusion 360 software (Autodesk)
- A computer with the required specifications for 3D modeling
- Basic knowledge of Fusion 360 interface
- A 3D design file (optional but helpful for practice)
Step-by-Step Instructions
Step 1: Set Up Your Project
Before starting your parametric design, launch Fusion 360 and create a new project. Navigate to the “Data Panel” on the left, which allows you to manage your files and organize projects. Next, select “Create New Design.” It’s essential to start your design with proper organization to ensure that your parametric settings are easy to adjust later. For parametric models, defining your project’s parameters early will save you time.
Step 2: Define Parameters
With your new design file open, go to the “Modify” tab in the toolbar and select “Change Parameters.” Here, you can begin defining your key dimensions—width, height, depth, or angles. These values can be assigned names like “Length” or “Diameter” to easily refer to them later. For example, if you’re designing a box, enter the length and width dimensions under User Parameters. This step is crucial because every change to these parameters automatically updates the entire model.
Step 3: Create Your Sketch
Once your parameters are defined, you can now create the base sketch of your model. Go to the “Sketch” tab and choose a plane on which to sketch. Use the dimension constraints that you’ve set in Step 2. For example, use the “Rectangle” tool to draw the shape of your object, and assign the length and width from the parameters created earlier. This method ensures that your sketch is linked to the parametric dimensions, making future adjustments simple.
Step 4: Extrude Your Sketch
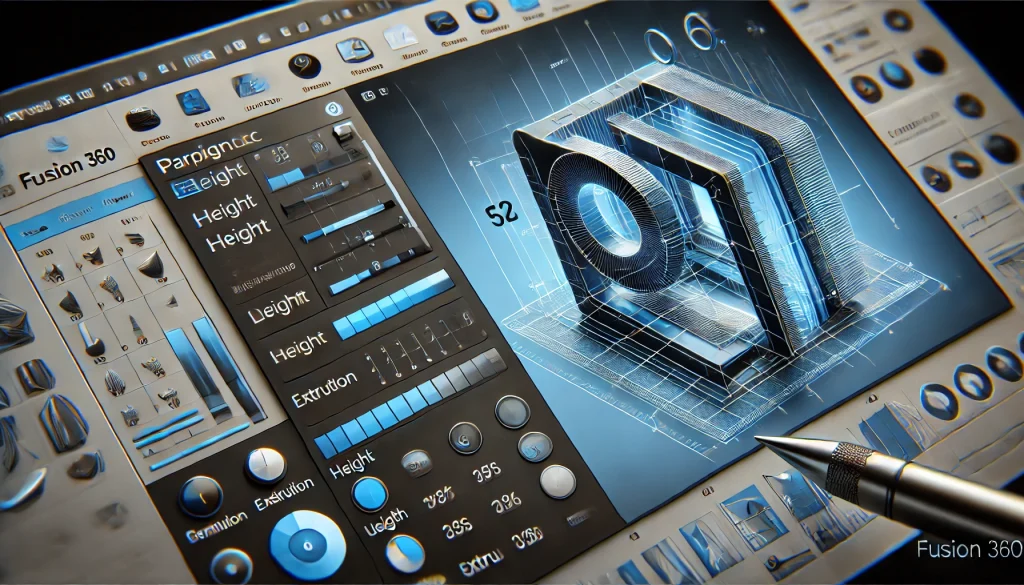
After completing your sketch, you can add volume to your 2D drawing by extruding it. Navigate to the “Create” tab and select “Extrude.” Choose the face of your sketch, then input the desired thickness or height. The thickness can also be linked to a parameter to make the model fully adaptable. This is where parametric design starts to shine—you can easily adjust the height by changing the parameter instead of manually editing the sketch.
Step 5: Refine with Additional Features
To make your model more complex, add fillets, chamfers, or holes by utilizing the “Modify” tools. Since your design is parametric, you can add these features with dimensions tied to your parameters, allowing for future modifications without the need to redraw anything. This ensures precision and adaptability in your design.
Step 6: Test and Adjust Parameters
One of the most powerful aspects of parametric design is testing how your model reacts to changes. To do this, return to the “Change Parameters” dialog, adjust a few values, and observe how your model updates accordingly. Testing different configurations ensures that your design is flexible, which is critical for iterative workflows and optimization.
Do’s and Don’ts

Do’s
- Do define parameters early. Setting key dimensions and constraints from the start will streamline the entire process.
- Do use simple sketches. Begin with basic shapes and gradually build complexity to keep the model manageable.
- Do test parametric adjustments. Changing parameters regularly ensures your design responds correctly and remains adaptable.
Don’ts
- Don’t neglect to name your parameters. Failing to name parameters can make it difficult to identify them later, especially in more complex models.
- Don’t forget to lock constraints. Ensuring that all necessary constraints are locked avoids unintended changes to your geometry when parameters are altered.
- Don’t overcomplicate your initial sketch. Overly detailed sketches can lead to errors and make it difficult to maintain parametric flexibility later.
Conclusion
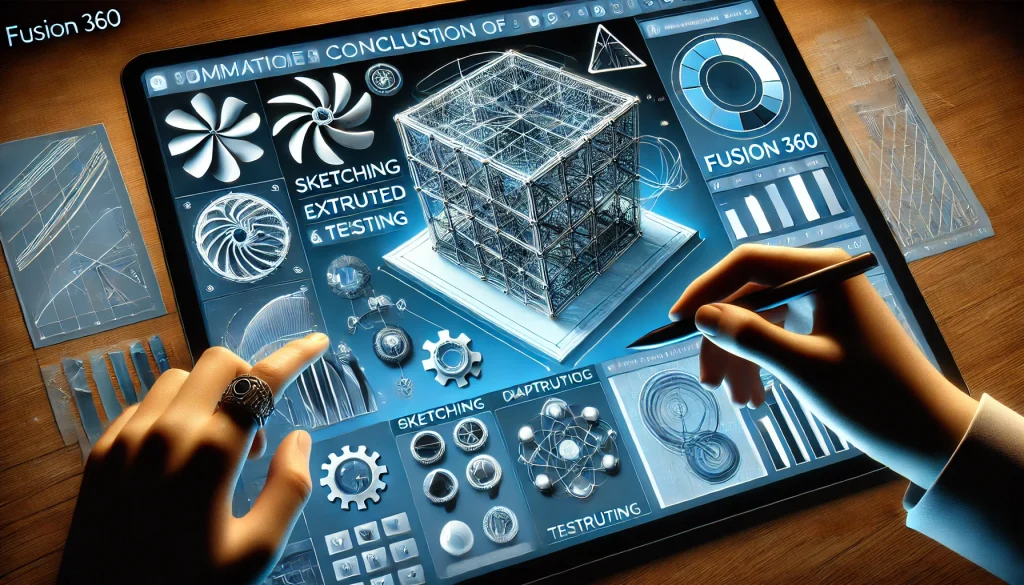
Creating parametric designs in Fusion 360 allows for easy customization and adjustment, making it a valuable skill for both hobbyists and professionals. By following these steps—defining parameters, sketching, extruding, and testing—you can efficiently develop flexible 3D models that adapt to any changes in design. With practice, you’ll find that parametric design not only speeds up your workflow but also ensures accuracy in every model iteration.
FAQs
What are the benefits of using parametric design in Fusion 360?
Parametric design allows you to quickly adjust dimensions and features without having to redraw the model, saving time and improving accuracy.
Can I apply parametric design to complex models in Fusion 360?
Yes, parametric design works for both simple and complex models, as long as parameters and constraints are set up correctly.
Is Fusion 360 suitable for beginners learning parametric design?
Absolutely! Fusion 360 offers intuitive tools and tutorials that make it easy for beginners to get started with parametric design.
Resources
- SDC Publications. Fusion 360 for Makers
- Udemy. Learn the Basics of Fusion 360
- Prusa3D Blog. Parametric Modeling in Fusion 360
- Instructables. Parametric Modeling With Fusion 360 API
- Domestika. Basic Operations in Fusion 360
