
Are you frustrated with how hard it is to move your crypto assets between different blockchains? You’re not alone. Many people face this roadblock, especially as decentralized finance and multi-chain applications grow. That’s where Axelar Crypto comes in. It’s a cutting-edge solution in the cryptocurrency world that enables users to bridge tokens from one blockchain to another easily and securely. As the crypto market expands, the need for smoother cross-chain communication has become more urgent than ever. Axelar is stepping up by offering a universal protocol that simplifies how blockchains talk to each other.
Whether you’re a developer building dApps or an investor managing tokens across different chains, learning how to use Axelar can save you time and reduce risk. With its growing influence and utility, Axelar is fast becoming essential for anyone serious about crypto. In this guide, we’ll walk you through how to bridge assets using Axelar step-by-step, so you can navigate the crypto ecosystem more freely and efficiently.
Axelar Crypto Materials or Tools Needed
To get started with bridging assets using Axelar Crypto, having the right tools in place is critical. These tools not only make the process smoother but also protect you from costly mistakes. The key to a successful transfer lies in preparation. You’ll need a secure crypto wallet like MetaMask or an Axelar-compatible option to manage your tokens. A stable internet connection is essential since any disruption could interrupt your transaction. The assets you plan to bridge must be supported by both the source and destination blockchains.
You’ll also need a browser extension to interact with the Axelar bridge interface effectively. Lastly, access to the official Axelar Bridge Platform ensures you’re using a safe and updated environment for the transaction. These items work together to give you a reliable and user-friendly experience when transferring assets across chains. Being well-equipped sets you up for success and minimizes risk during the entire bridging process.
| Item | Purpose |
|---|---|
| Axelar Wallet or Compatible Wallet | To store and manage your assets |
| Internet Connection | Stable access to decentralized apps |
| Supported Crypto Assets | Tokens you want to bridge |
| Browser Extension (e.g., MetaMask) | For interacting with dApps |
| Axelar Bridge Platform | The main tool for the task |
Axelar Crypto Instructions
Step 1: Access the Axelar Bridge

To begin bridging assets, go to the official Axelar Network website using a reliable browser. Once on the homepage, navigate to the Bridge section, which is the core tool used to move assets between chains. You’ll need to connect your crypto wallet, such as MetaMask, Keplr, or any other supported wallet. Ensure your wallet is unlocked, on the correct blockchain network, and has enough native tokens to cover gas fees.
This step is critical because your wallet becomes the gateway to initiate and approve all subsequent actions. Make sure you’re using the authentic Axelar website to protect yourself from phishing or fraudulent platforms. Once connected, the interface will display your wallet balance and provide access to the bridging controls, where you can manage the full transaction process. This connection step also enables the site to interact with your tokens securely and gives you full control over the assets being moved across chains.
Step 2: Choose Source and Destination Chains
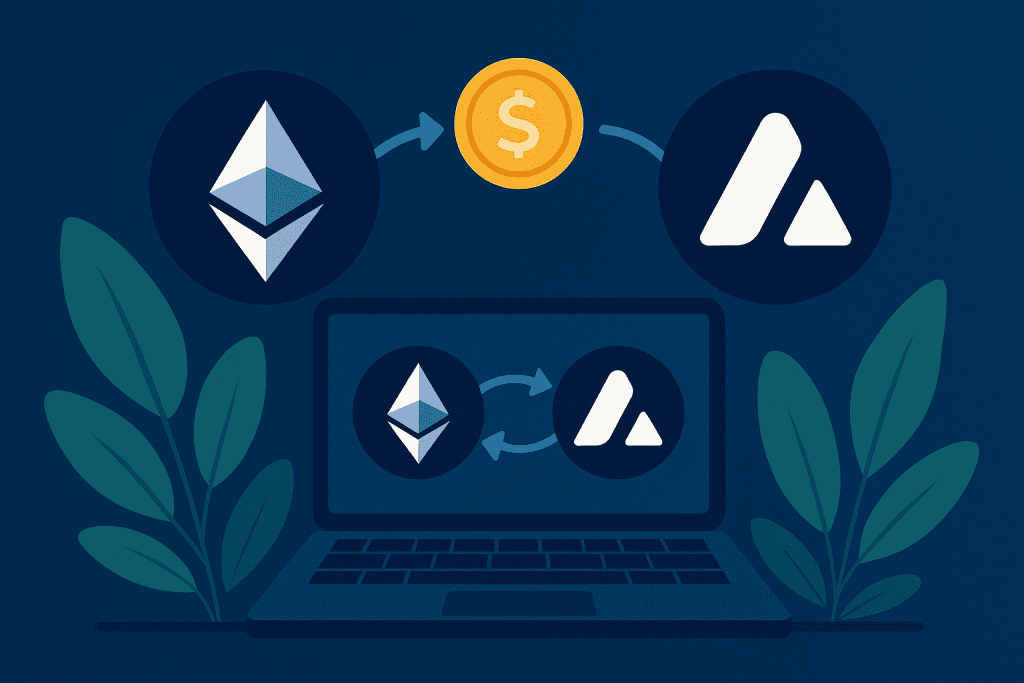
Once the wallet is connected, you’ll select the source chain where your token currently lives and the destination chain where you want to send it. For example, if your funds are on Ethereum and you want them on Avalanche, choose Ethereum as your source and Avalanche as your target. After that, select the specific token and enter the desired amount to transfer. Axelar’s interface will automatically calculate and display the required gas fees and estimated time for the transaction. Carefully review all the information before proceeding to ensure accuracy and avoid sending funds to the wrong chain.
Step 3: Approve and Confirm Transaction
Before your tokens can be bridged, Axelar needs your approval to access them. Click the Approve button to allow the smart contract to interact with your wallet. This is a security measure and a standard procedure in most decentralized apps. Once approved, hit the Transfer button and confirm the transaction in your wallet. Always double-check the network, amount, and gas fee before confirming. Depending on network traffic, processing might take a few minutes. During this time, avoid refreshing your browser or disconnecting your wallet. Let the system complete the transaction securely and wait for confirmation to appear on-screen.
Step 4: Verify on Destination Chain
After your transaction is complete, switch your wallet’s network to the destination chain. Check your wallet balance to see if the bridged token has arrived. If the token doesn’t appear immediately, it might need to be manually added using the token’s contract address. You can find this address on the destination chain’s official block explorer. You can also use the transaction ID to track its status and confirm it was successful. In most cases, your tokens will show up within minutes, and you’ll be ready to use them on the new network without any delays or additional steps.
Axelar Crypto Tips and Warnings
Mastering cross-chain transfers with Axelar Crypto comes down to preparation. Here are some insights:
| Tip | Benefit |
|---|---|
| Double-check wallet network | Prevents failed transfers |
| Use small test amounts first | Reduces risk of loss |
| Keep track of transaction IDs | For troubleshooting |
Conclusion

Bridging assets using Axelar Crypto is more than just a clever feature for blockchain enthusiasts. It’s a practical, secure, and highly valuable tool that empowers users to move assets across different blockchains without relying on centralized exchanges. As the crypto market continues to grow and more chains emerge, interoperability is becoming a necessity rather than a convenience.
Axelar provides a streamlined way to navigate this complexity. By following the clear steps in this guide and taking note of the tools and tips shared, you can complete transfers confidently and securely. Whether you’re a trader seeking efficiency or a developer building cross-chain dApps, Axelar removes technical barriers and opens up a world of possibilities. The process may seem technical at first, but once you go through it, you’ll realize how intuitive and accessible it really is. Give it a try and experience the simplicity of moving assets freely, no matter which blockchain they’re on.
FAQ
What is Axelar Crypto and how does it work in the cryptocurrency space?
Axelar Crypto is a blockchain interoperability network that allows seamless communication and asset transfers between different blockchains. It plays a vital role in the cryptocurrency world by solving one of the space’s most persistent problems: cross-chain limitations.
Is it safe to use Axelar Crypto for investment transfers?
Yes, Axelar Crypto uses audited smart contracts and a decentralized validator set, making it secure for bridging assets. However, always check the axelar coin and its ecosystem before making major investment decisions.
How does Axelar Crypto affect Axelar price and user interest?
As adoption grows and more users bridge assets, Axelar price may rise due to increased utility and demand. The project’s recent surge reflects its growing impact on the wider blockchain and cryptocurrency infrastructure.
Resources
- Securities.io Investing in Axelar
- Crypto Times Axelar (AXL) Price Surges Over 60%
- Axelar Network Official Site
- CoinMarketCap Axelar Coin Page
- CoinGecko Axelar Price Data
- The Big Whale Axelar Token Insights