
Diving into the world of cryptocurrency can feel a bit like stepping into a high-tech treasure hunt. But if there’s one thing every crypto adventurer needs, it’s a secure way to protect their assets. Enter the hardware wallet, your personal vault in the digital age.
This guide will walk you through how to set up a hardware wallet so you can safely store your investments away from prying eyes or sneaky cybercriminals. Whether you’re holding Bitcoin, Ethereum, or another form of digital gold, securing your blockchain assets with a cold wallet ensures your peace of mind. Let’s jump in and make this process as simple and rewarding as it should be.
Hardware Wallet Tools Needed
To set up your hardware wallet successfully, you’ll need a few essential items. Here’s what you’ll need to gather:
| Materials/Tools | Purpose |
|---|---|
| Hardware Wallet (e.g., Ledger Wallet or Trezor) | The main device to securely store your cryptocurrency. |
| USB Cable (usually included) | To connect your wallet to your computer or mobile device. |
| Computer or Mobile Device | For installing wallet software and managing your assets. |
| Recovery Sheet and Pen | To write down your wallet’s recovery phrase securely. |
| Internet Connection | To download the necessary software during setup. |
Having everything ready beforehand will make the setup process much smoother. Let’s jump into the step-by-step instructions!
Hardware Wallet Instructions
Setting up a hardware wallet might seem overwhelming at first, but it’s easier than you think. With a bit of patience and this step-by-step guide, you’ll have your wallet ready to secure your cryptocurrency in no time. Let’s get started!
Step 1: Unbox and Inspect Your Hardware Wallet
Start by unboxing your new hardware wallet. Whether you’re using a Ledger Wallet or a Trezor, make sure to inspect the packaging carefully for signs of tampering. If anything looks off, such as a broken seal or damaged box, contact the manufacturer immediately.
Once everything checks out, connect your wallet to your computer or mobile device using the USB cable provided. Most wallets have a plug-and-play system, so the device should power on automatically.
Step 2: Download and Install the Wallet Software
To manage your hardware wallet, you’ll need to download its companion software. Visit the official website of your wallet’s manufacturer—such as Ledger Live or Trezor Suite—to ensure you’re downloading the authentic program. Follow the prompts to install the software on your computer or mobile device.
Once installed, open the software, and it will guide you through essential steps like firmware updates to ensure your wallet is running the latest security features.
For a visual demonstration, check out this helpful YouTube tutorial. Seeing the process in action can make it much easier to follow along, especially if you’re a visual learner.
Step 3: Set Up Your Wallet and PIN
Now it’s time to initialize your wallet. The wallet software will prompt you to create a PIN—a crucial layer of security to protect your device. Choose a PIN that’s strong and memorable but not easily guessable (avoid using “1234” or birthdays).
Once your PIN is set, the wallet will generate your recovery phrase.
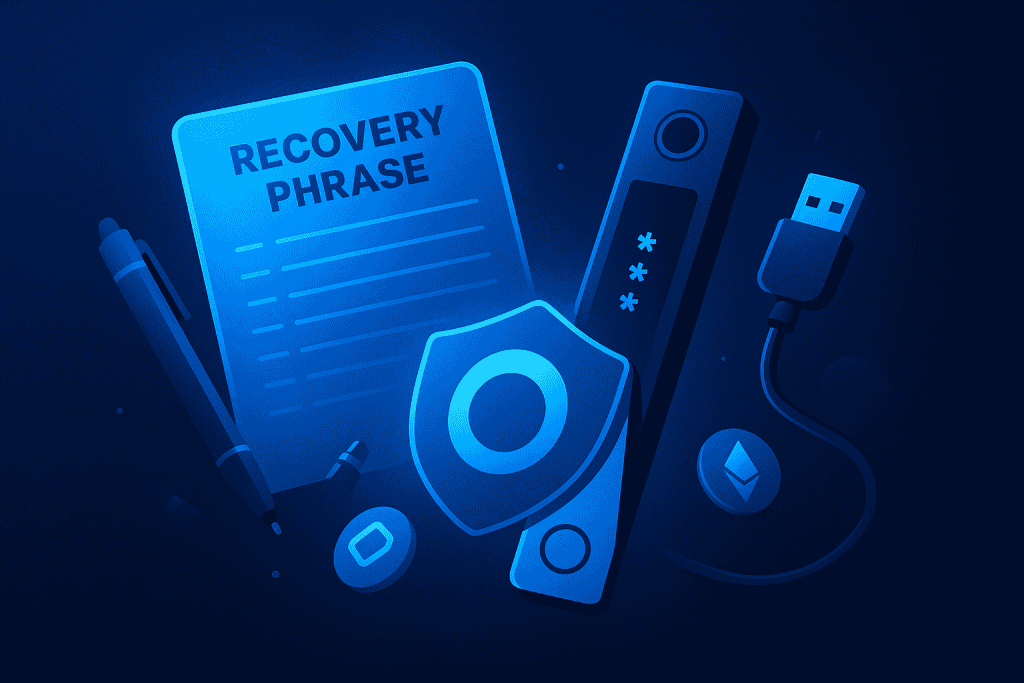
Step 4: Write Down Your Recovery Phrase
The recovery phrase is the master key to your wallet. It’s usually 12 to 24 random words that allow you to recover your funds if your device is lost or damaged.
Write down the recovery phrase on the provided recovery sheet—never store it digitally! Avoid taking photos or saving it on your computer, as this increases the risk of hacking.
Store the recovery sheet in a safe location, such as a fireproof safe or a bank deposit box. Losing your recovery phrase means losing access to your funds permanently, so treat it with the utmost care.
Step 5: Add Cryptocurrency Accounts to Your Wallet
With the basics set up, you can now add your cryptocurrency accounts. The wallet software will let you select which coins or tokens you want to manage. Whether you’re storing Bitcoin, Ethereum, or other altcoins, you can create separate accounts for each.
To transfer funds into your wallet, simply copy the wallet address provided by the software and use it to send crypto from your exchange or another wallet. Double-check the address before making any transfers to ensure accuracy.
Step 6: Test with a Small Transaction
Before transferring large amounts of cryptocurrency, it’s a good idea to test your wallet with a small transaction. Send a small amount of crypto from your exchange to your hardware wallet. Once the transaction is confirmed, you’ll have peace of mind knowing your setup works correctly.
Hardware Wallet Tips and Warnings

| Tips | Warnings |
|---|---|
| Always Buy From Official Sources: Avoid counterfeit wallets, which can compromise security. | Avoid Public Wi-Fi for Wallet Setup: Protects against potential data interception or attacks. |
| Keep Your Recovery Phrase Secure: Losing it means permanent loss of access to your funds. | Test Small Transactions First: Verifies that your wallet setup is correct and functioning. |
| Regularly Update Wallet Firmware: Ensures your device is protected against new vulnerabilities. | Don’t Share Your PIN or Recovery Phrase with Anyone: Even customer support should not ask for these details. |
Conclusion
Congratulations! You’ve successfully set up your first hardware wallet. While the process might feel a bit overwhelming initially, it’s an essential step to protect your cryptocurrency from hackers and cyber threats. By securing your private keys offline in a cold wallet, you can rest easy knowing your digital assets are safe.
Remember to keep your recovery phrase secure, regularly update your wallet’s firmware, and test small transactions before moving large amounts of crypto. With these precautions, you’re ready to confidently manage your crypto investments like a pro.
Take that extra step today—set up your hardware wallet and gain full control of your financial future.
FAQ
What is a hardware wallet, and why is it better than a hot wallet?
A hardware wallet is a physical device that stores your private keys offline, protecting your cryptocurrency from hackers and malware. Unlike hot wallets connected to the internet, hardware wallets eliminate many risks associated with online storage.
Can I recover my funds if I lose my hardware wallet?
Yes, as long as you have your recovery phrase. The recovery phrase is the backup key to access your funds and can be used to restore your wallet on another device.
What happens if I lose my recovery phrase?
Unfortunately, if you lose your recovery phrase, you cannot access your funds. It’s vital to store it securely in multiple safe locations.
Resources
- Medium. Polkadex Mainnet: Migrating from Ethereum.
- Material Bitcoin. How to Set Up a Hardware Wallet.
- Investopedia. How to Create a Crypto Wallet.
- MoonPay. Set Up a Hardware Wallet.
- NerdWallet. How to Get a Crypto Wallet.
- YouTube. Step-by-Step Guide to Setting Up a Hardware Wallet.