
Setting up a vulnerability scanner like Tenable Nessus might sound like a complex, enterprise-level task—but it doesn’t have to be. With its user-friendly interface and robust scanning features, Nessus is a trusted tool for both cybersecurity veterans and beginners alike. This scanner allows IT professionals to detect weaknesses before attackers do, offering a proactive layer of defense against breaches, ransomware, and network misconfigurations.
In today’s security landscape, vulnerability management is no longer optional—it’s essential. Whether you’re managing a home lab or enterprise-grade network, this guide will walk you through how to install, configure, and use Nessus effectively.
Tools Needed for Tenable Nessus Setup
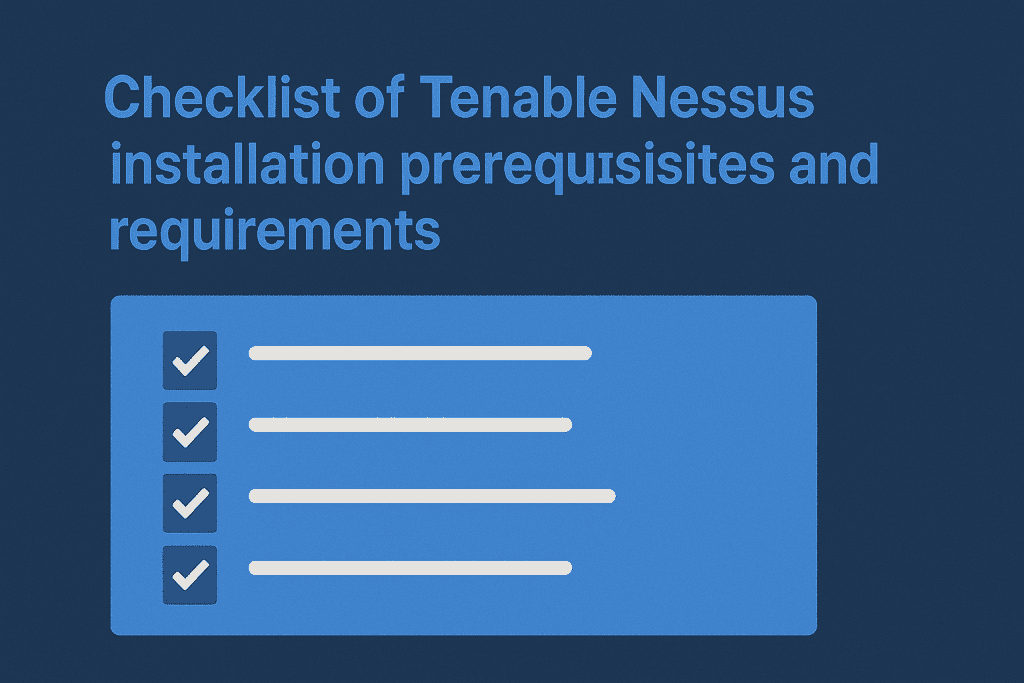
Before diving in, preparation is key. Having the right tools at hand can dramatically reduce frustration and ensure a smooth setup process. Below is a handy checklist.
| Tool/Material | Why You Need It |
|---|---|
| Tenable Account | For downloading and activating Tenable Nessus Essentials |
| Installer File | OS-specific package for setup |
| Admin Privileges | Required for installation and service startup |
| Internet Connection | For plugin downloads and updates |
| Compatible OS | Linux, Windows, or macOS supported |
| System Specs | Min 2 GB RAM, 30 GB disk, 1.8 GHz CPU |
Pro Tip: If you’re running this on a shared or virtual environment, make sure it’s not resource-throttled. Tenable Nessus needs consistent performance to scan efficiently.
Install and Configure Tenable Nessus
Setting up Tenable Nessus is a straightforward process, but each step holds importance in ensuring a smooth deployment. Whether you’re running on Windows, macOS, or Linux—or even deploying via Docker—these steps will walk you through it all.
Step 1: Register and Download Nessus
Before you even install Nessus, you’ll need to visit the Tenable Nessus Essentials page. There, you register with your email address to receive an activation code. This code is necessary to unlock the Tenable Nessus Essentials version, which is free and perfect for small environments or learning purposes.
Make sure to download the installer package specific to your operating system—there are versions for Windows, macOS, Debian-based Linux, Red Hat, and more. If you’re tech-savvy, you can even opt for the Docker image. Choosing the correct version ensures compatibility and avoids errors during installation.
Step 2: Install the Software
Now, it’s time to get Nessus up and running. The installation process is relatively simple:
- On Windows: Double-click the
.exefile and follow the step-by-step installation wizard. You’ll be asked to agree to terms and select installation preferences. - On macOS: Open the
.dmgfile, drag the Nessus icon into your Applications folder, and launch it from there. - On Linux: Use your terminal to install the downloaded
.debor.rpmpackage. Commands likesudo dpkg -i Nessus-10.x.debmight be needed.
Once installed, Nessus will run in the background as a service. If you’re using a firewall or security suite, ensure it doesn’t block it from operating.
Step 3: Access the Web UI
After installation, Nessus is accessed through a web browser. Simply open your preferred browser and navigate to: https://localhost:8834
You might need to accept a security warning, as Nessus uses a self-signed SSL certificate. Don’t worry—this is completely normal for local services. The web interface is where all configuration and management tasks take place. From here, you’ll register your scanner, create scans, monitor tasks, and export reports.
Make sure this port (8834) is not being blocked by a firewall or antivirus application on your device.
Step 4: Enter Activation Code and Select Version
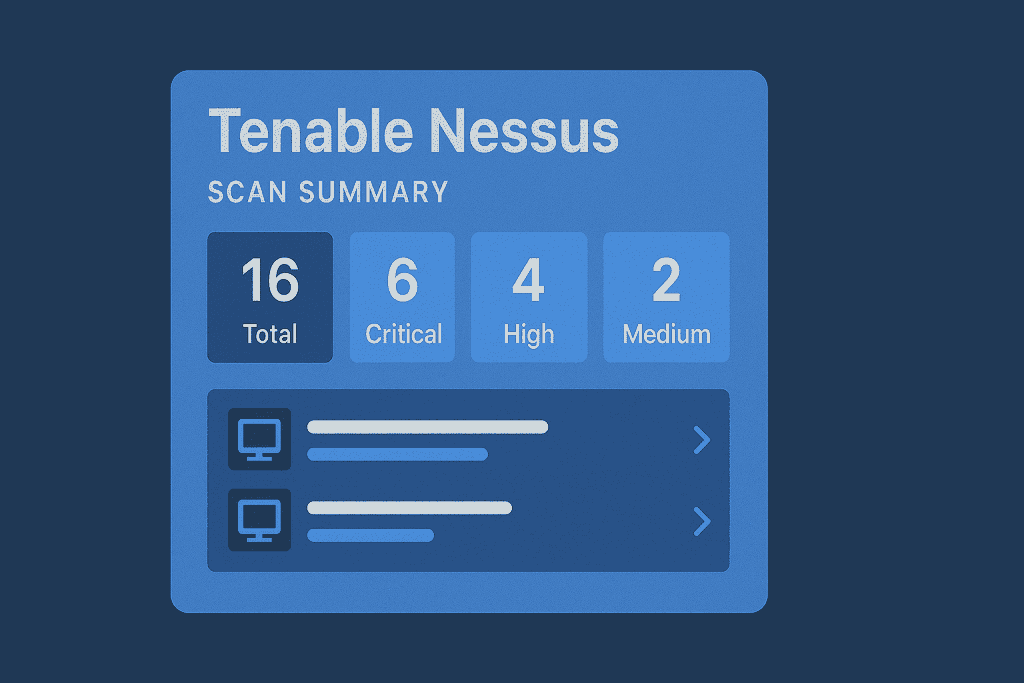
Now, enter the activation code you received via email. Nessus will prompt you to choose your product tier—Essentials, Professional, or Manager. For most users, Nessus Essentials is the best starting point, especially since it’s free and supports scanning up to 16 IP addresses.
This activation process helps verify your installation and unlocks access to plugin downloads and updates.
After entering the code, Tenable Nessus will register your installation with Tenable and prepare to download the plugin set. This step requires a stable internet connection.
Step 5: Download Plugins
Once activated, Nessus will begin downloading its plugin library. These plugins are essentially small scripts or checks that detect vulnerabilities, configuration issues, and exposures. Tenable Nessus has thousands of these, covering a wide range of operating systems, applications, and protocols.
This initial plugin download is critical because it defines what your scanner can detect. Depending on your internet speed, this process might take anywhere from 10 to 30 minutes.
During this phase, you’ll see progress indicators. Once completed, Tenable Nessus will initialize and prepare the scanning environment. It’s a good moment to grab coffee—it’s working hard behind the scenes!
Step 6: Create and Configure Your First Scan
After plugins are installed, you’re now ready to create your first scan. Click on “New Scan”, and you’ll be greeted with a list of templates. Here are some common options:
- Basic Network Scan – A simple scan to detect common vulnerabilities.
- Advanced Scan – Provides full customization for professional use.
- Web Application Tests – Tailored to assess websites and web apps.
- Credentialed Patch Audit – Ideal for internal systems with login credentials.
Choose the appropriate template and name your scan clearly—such as “Weekly Linux Scan” or “Internal IP Audit.” This helps you track and organize results later.
Then, enter your target IP addresses, domain names, or subnets. You can scan a single host or multiple at once. Optionally, configure settings like scan windows, throttling, credentials, or email alerts.
Don’t forget to save your scan. You’ll now see it listed in your dashboard.a name and enter the target IPs or domains. Save it to your dashboard.
Step 7: Launch and Analyze the Scan
Now it’s time to put Nessus to work. Click the “Launch” button next to your scan to begin. Tenable Nessus will start probing each target using the plugins you downloaded earlier.
While the scan runs, you can monitor its progress in real time. It will display the number of hosts scanned, vulnerabilities discovered, and elapsed time.
When the scan completes, Tenable Nessus provides a comprehensive report broken down by:
- Host/IP
- Vulnerability severity (Critical, High, Medium, Low, Info)
- Plugin ID and name
- Description and remediation advice
You can filter, export, and even share these results. For compliance teams or IT managers, this feature is a lifesaver.
Make it a habit to export your results as a PDF or CSV for documentation. Over time, comparing results helps track security improvements or detect recurring issues.
Nessus Tips and Warnings to Avoid
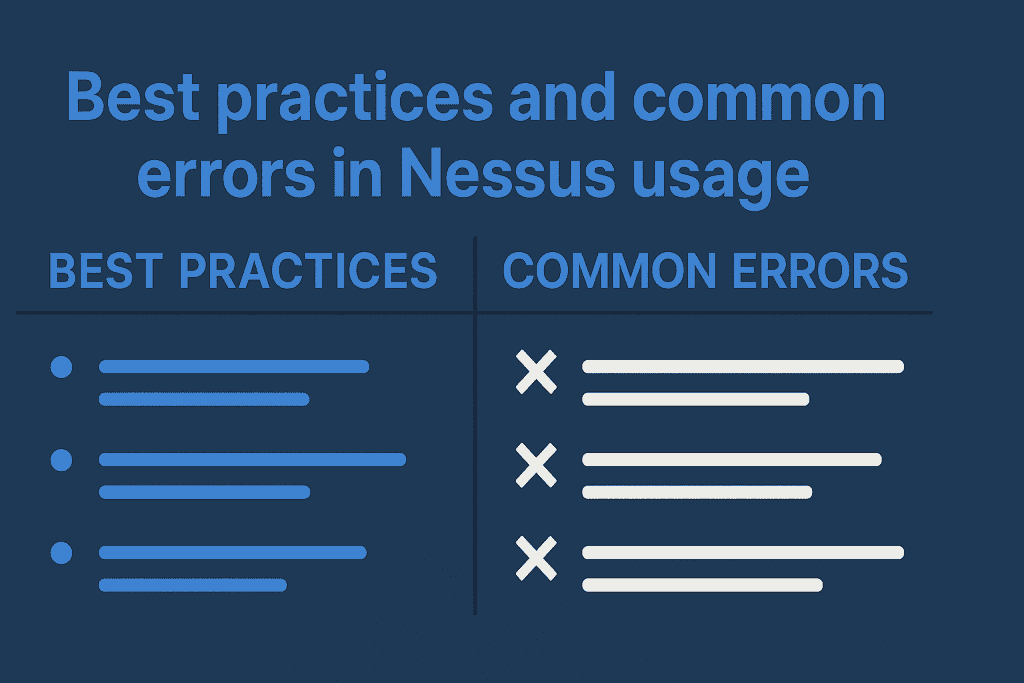
Using Nessus effectively is about more than just clicking “Scan.” There are proven techniques and common mistakes that can significantly impact your results.
| Tip for Better Scanning | Mistake to Avoid |
|---|---|
| Use Credentialed Scans: Authenticate with system logins for deeper vulnerability insights. | Relying Only on Unauthenticated Scans: Limits visibility and misses critical system-level vulnerabilities. |
| Whitelist Nessus in Firewalls: Prevents your scans from being blocked or throttled. | Skipping Plugin Updates: Outdated plugins miss new threats. Always update before scanning. |
| Group Targets by Function: Improves scan accuracy and simplifies analysis (e.g., by OS or server type). | Overloading One Scan Job: Scanning too many hosts at once leads to timeouts and incomplete results. |
| Schedule Scans During Off-Hours: Minimizes network disruptions and user impact. | Scanning Without Team Notification: Surprise scans can trigger alarms or cause system slowdowns. |
| Export Reports Regularly: Saves time during audits and tracks security posture over time. | Ignoring Low/Medium Threats: These can still be exploited—don’t leave your network partially exposed. |
Conclusion
Tenable Nessus is one of the most trusted vulnerability assessment tools on the market—and now you know how to install, configure, and use it with confidence. This guide has walked you through everything from downloading the installer to launching your first scan and avoiding common errors.
Whether you’re managing a handful of devices or securing an enterprise network, Tenable Nessus brings powerful security into your hands—with clarity, flexibility, and zero fluff.
As cyber threats evolve, so should your approach. Nessus helps you stay proactive, informed, and ahead of attackers.
FAQ
How does Tenable Nessus help in cybersecurity?
Tenable Nessus identifies system vulnerabilities that can be exploited by hackers. It scans networks, detects weaknesses, and gives guidance on how to fix them—making it a key component of any solid cybersecurity plan.
Can I use Tenable Nessus in a Docker container?
Yes, you can! It’s a faster and cleaner setup if you’re comfortable with containers.
Is Tenable Nessus suitable for small businesses?
Absolutely. The Essentials version is free for up to 16 IPs, making it a great starting point for startups or small IT teams.
Resources
- Tenable Docs. Install Nessus
- Tenable Community. Deploy a Nessus Scanner
- Monty’s Mac Musings. Deploying Nessus
- YouTube. How to Use Tenable Nessus
- Medium. Nessus Docker Install